System Connectors
You configure the system settings for the connector transforms here.
For the accounting or ERP connector transforms, you typically define one connector per company you integrate with. For the CRM connector transform, you define one connector for each CRM database.
See the relevant product guide for how to configure IMan for each connector.
Setup > System Connectors
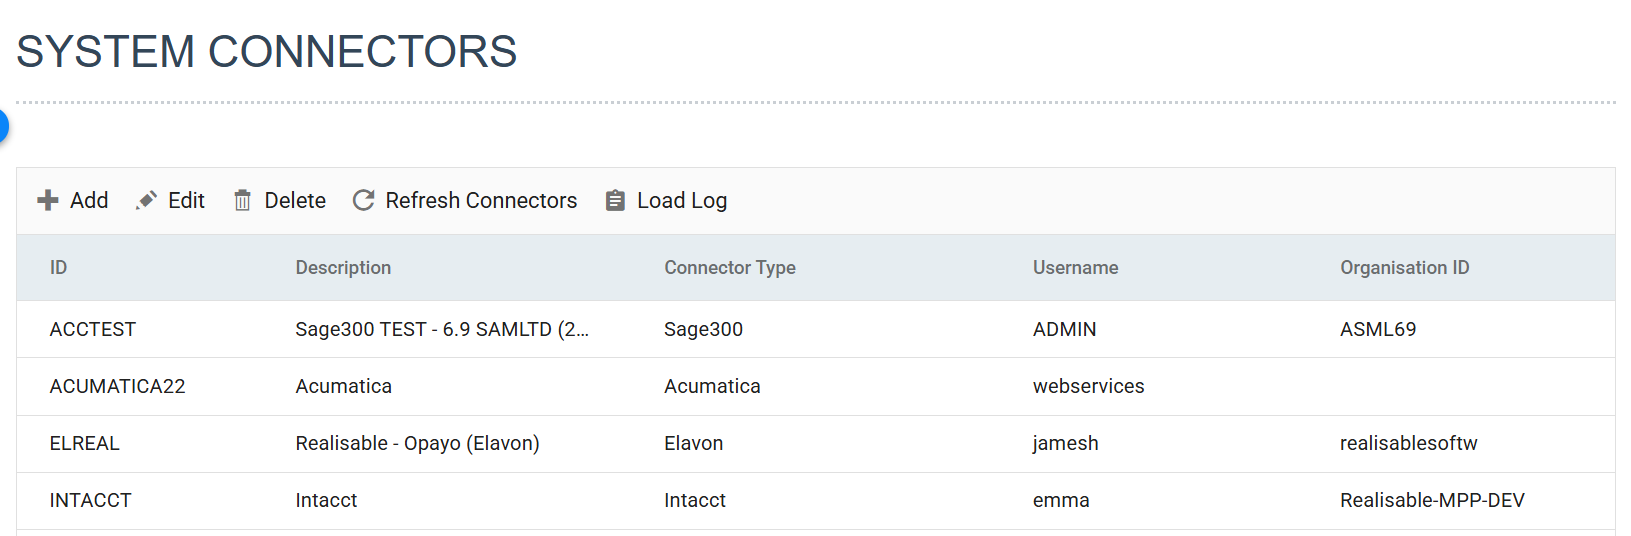
- Add/Edit/Delete
- Buttons for maintaining the system connectors.
- Refresh Connectors
- Reloads the connectors. Use it after adding a new connector DLL or replacing or updating an existing one.
- Load log
- Displays a pop-up listing each connector load error. Use it to debug connectors that will not load.
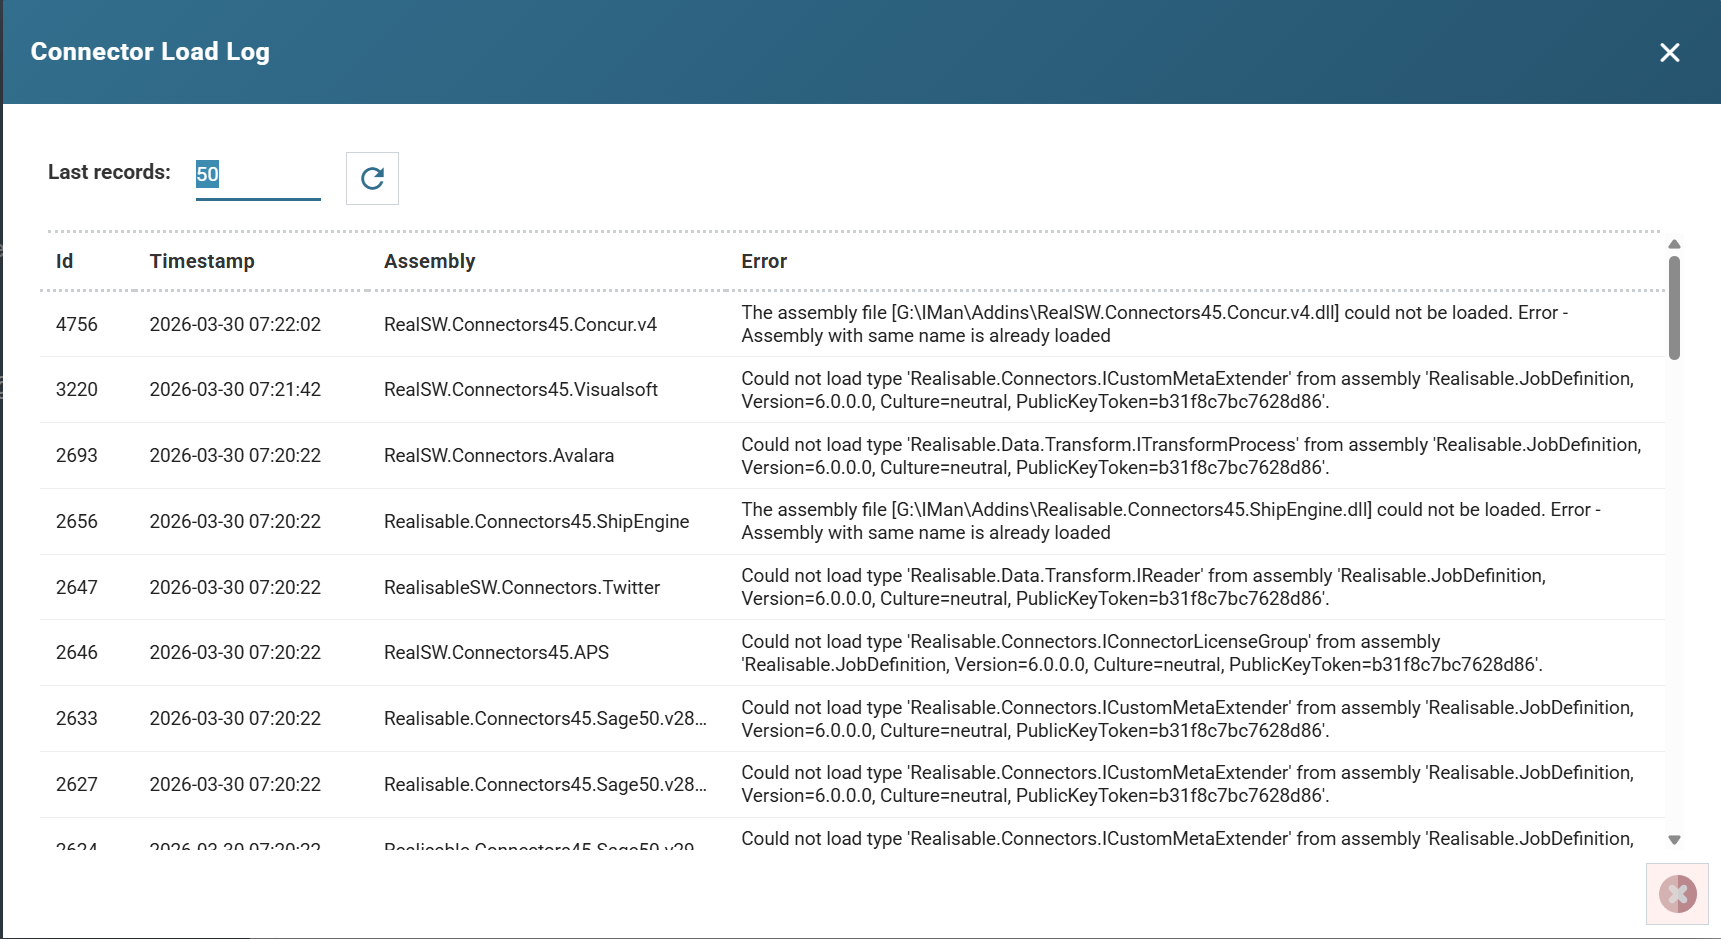
- Displays a pop-up listing each connector load error. Use it to debug connectors that will not load.
Edit Form
Adding or editing a system connector opens a form.
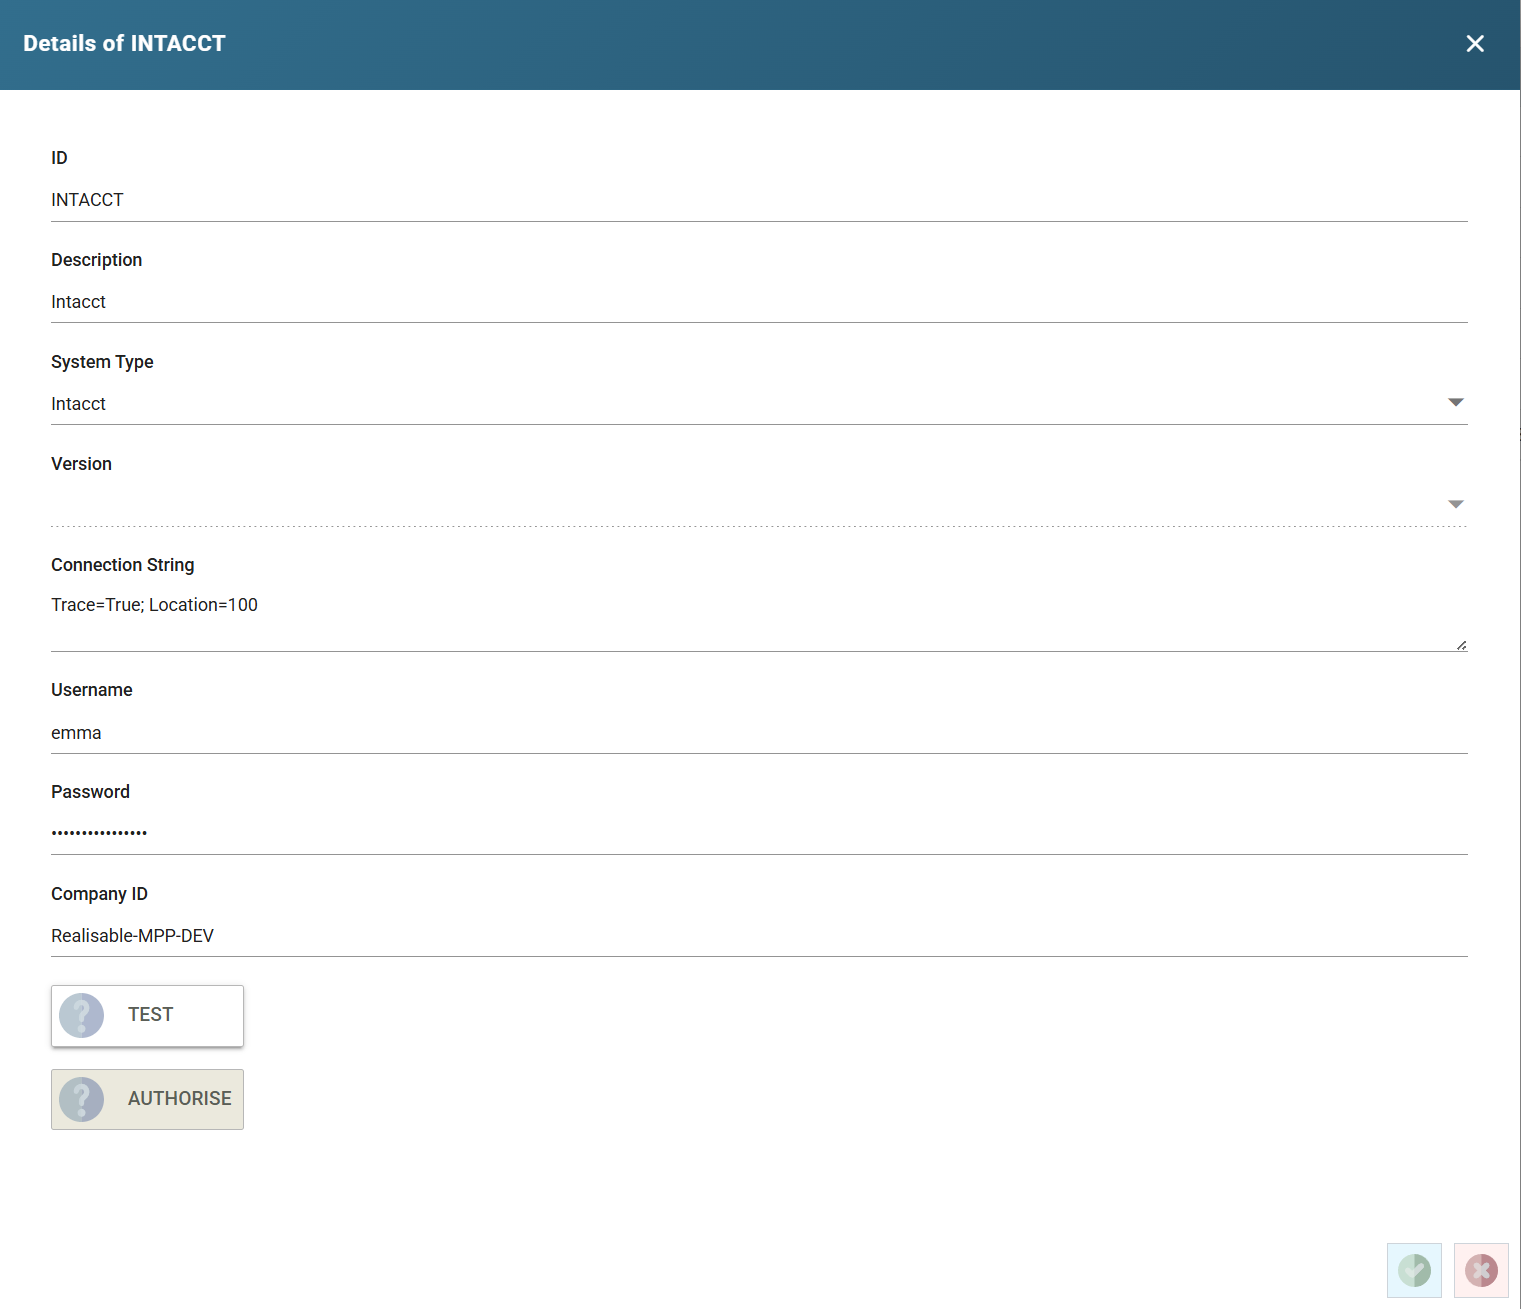
ID
The user-defined Id of the connector.
System Type
The system type of the connector, for example Sage 300 ERP or Magento.
Version
This drop-down lists any versions a connector has. Where a connector does not support versions, the drop-down is disabled.
Version Comment
A comment related to the specific version of the connector.
Description
The description for the connector. The drop-down on the reader/connector screen displays this description.
Connection String
An optional value containing a URL, or a sequence of key-value pairs, for connecting to the application. See the relevant connector guide for how to populate this field.
IMan masks the secrets in a saved connection string. The value of Pwd, Password or another secret key, such as AccountKey or ApiKey, shows as ********, followed by the last three characters when the value is eight or more characters long. A Show secrets button appears under the box when the string holds a secret. Press it to show the stored values, and press Hide secrets to mask them again. Showing them needs the Can reveal a stored secret in full permission. You can edit the rest of the string while the mask is in place. IMan keeps the stored value until you type a new one over the mask.
Username
The username to connect to the application. See the relevant connector guide for how to populate this field.
Password
The password to connect to the application. See the relevant connector guide for how to populate this field.
IMan masks the saved password. The box shows ********, followed by the last three characters when the password is eight or more characters long. Press the eye button beside the box to show the stored password, and press it again to hide it. Showing a stored password needs the Can reveal a stored secret in full permission. To change the password, click in the box and type the new one. Leave the box empty to keep the stored password.
Company ID
The application's company, instance or folder to connect to. See the relevant connector guide for how to populate this field.
Test Button
Press Test to attempt a connection with the supplied credentials and details.
Authorise Button
Some connectors require the Authorisation Code authorisation flow to authenticate. When the connector requires this method, the Authorise button is enabled.
When you press Authorise, IMan opens a new window and sends a request to the authorise URL.
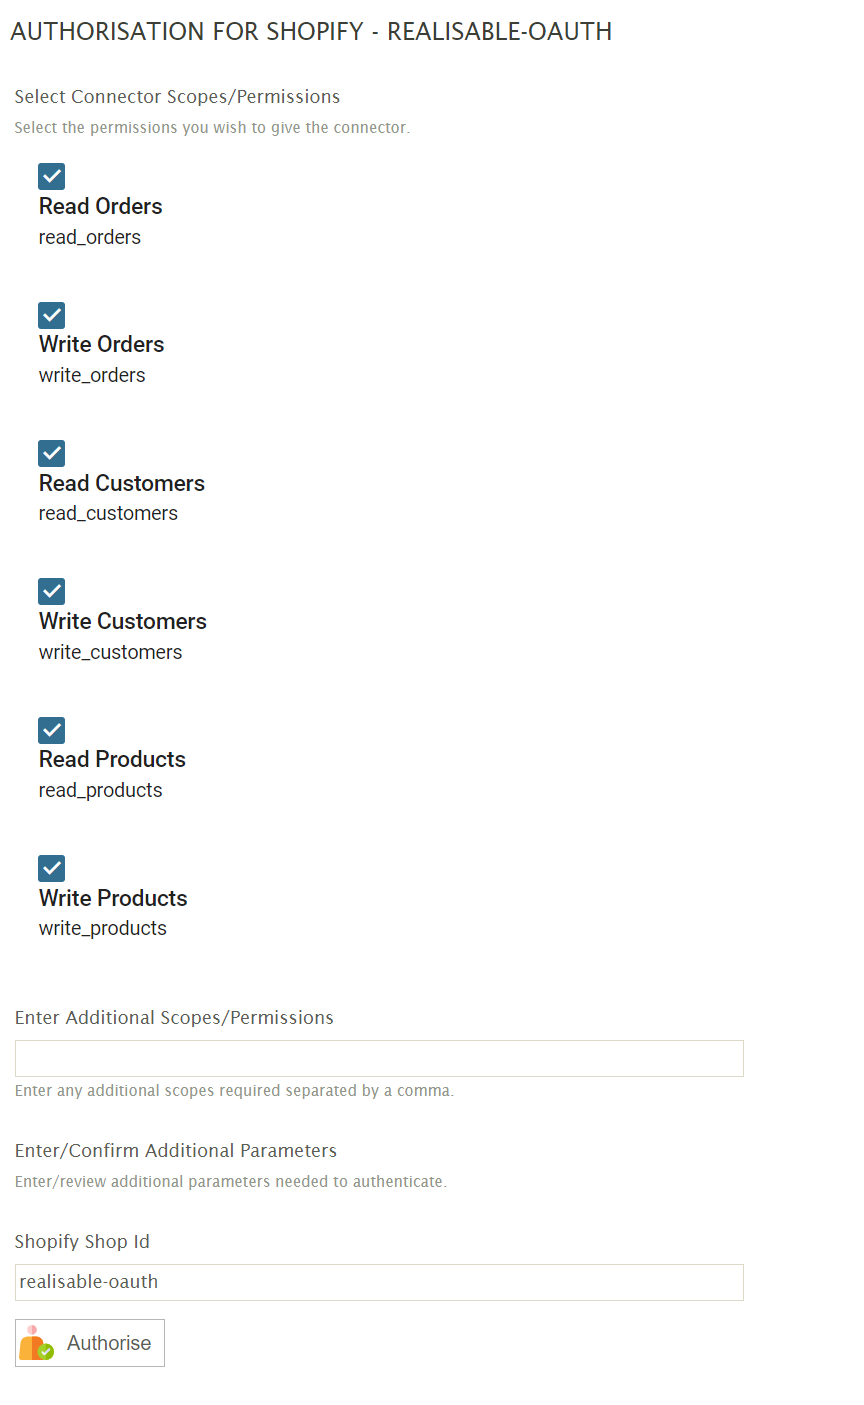
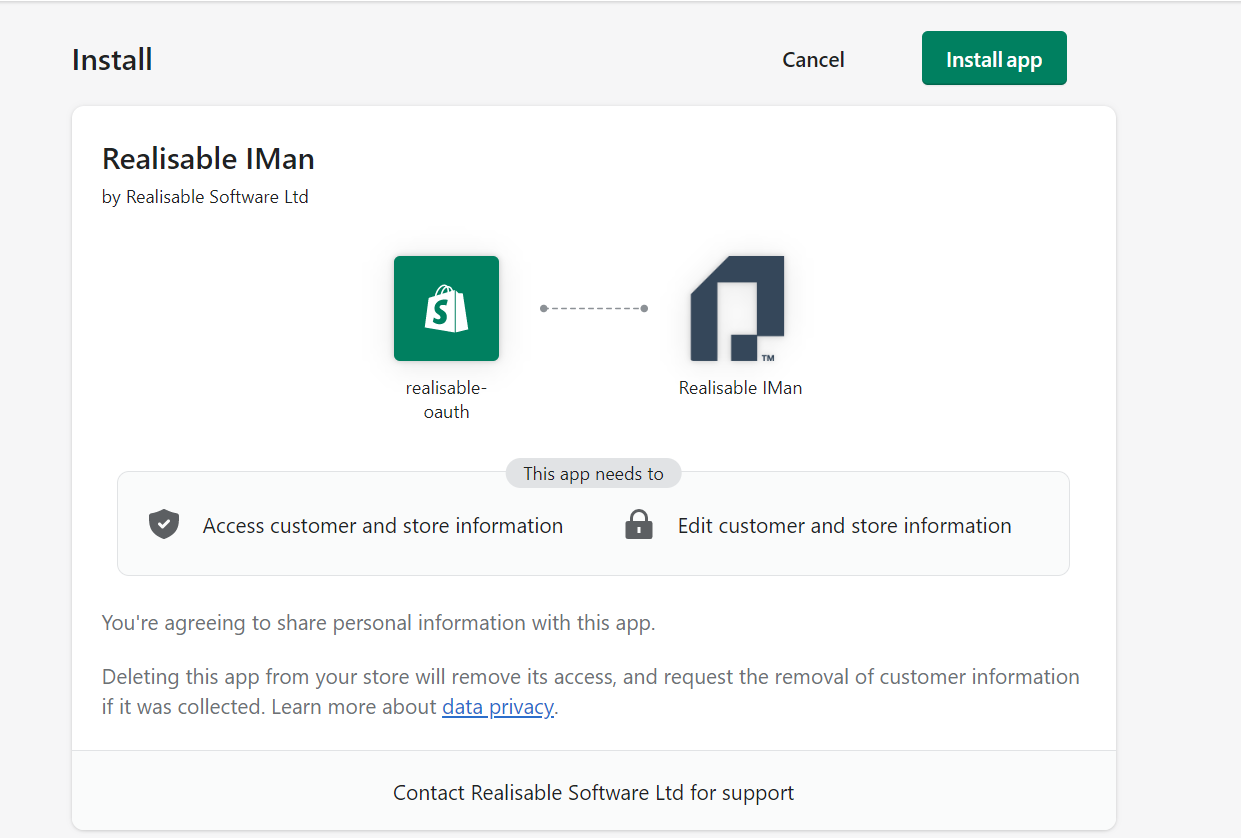
Pressing Authorise on this page redirects you to the service, where you may be asked to sign in.
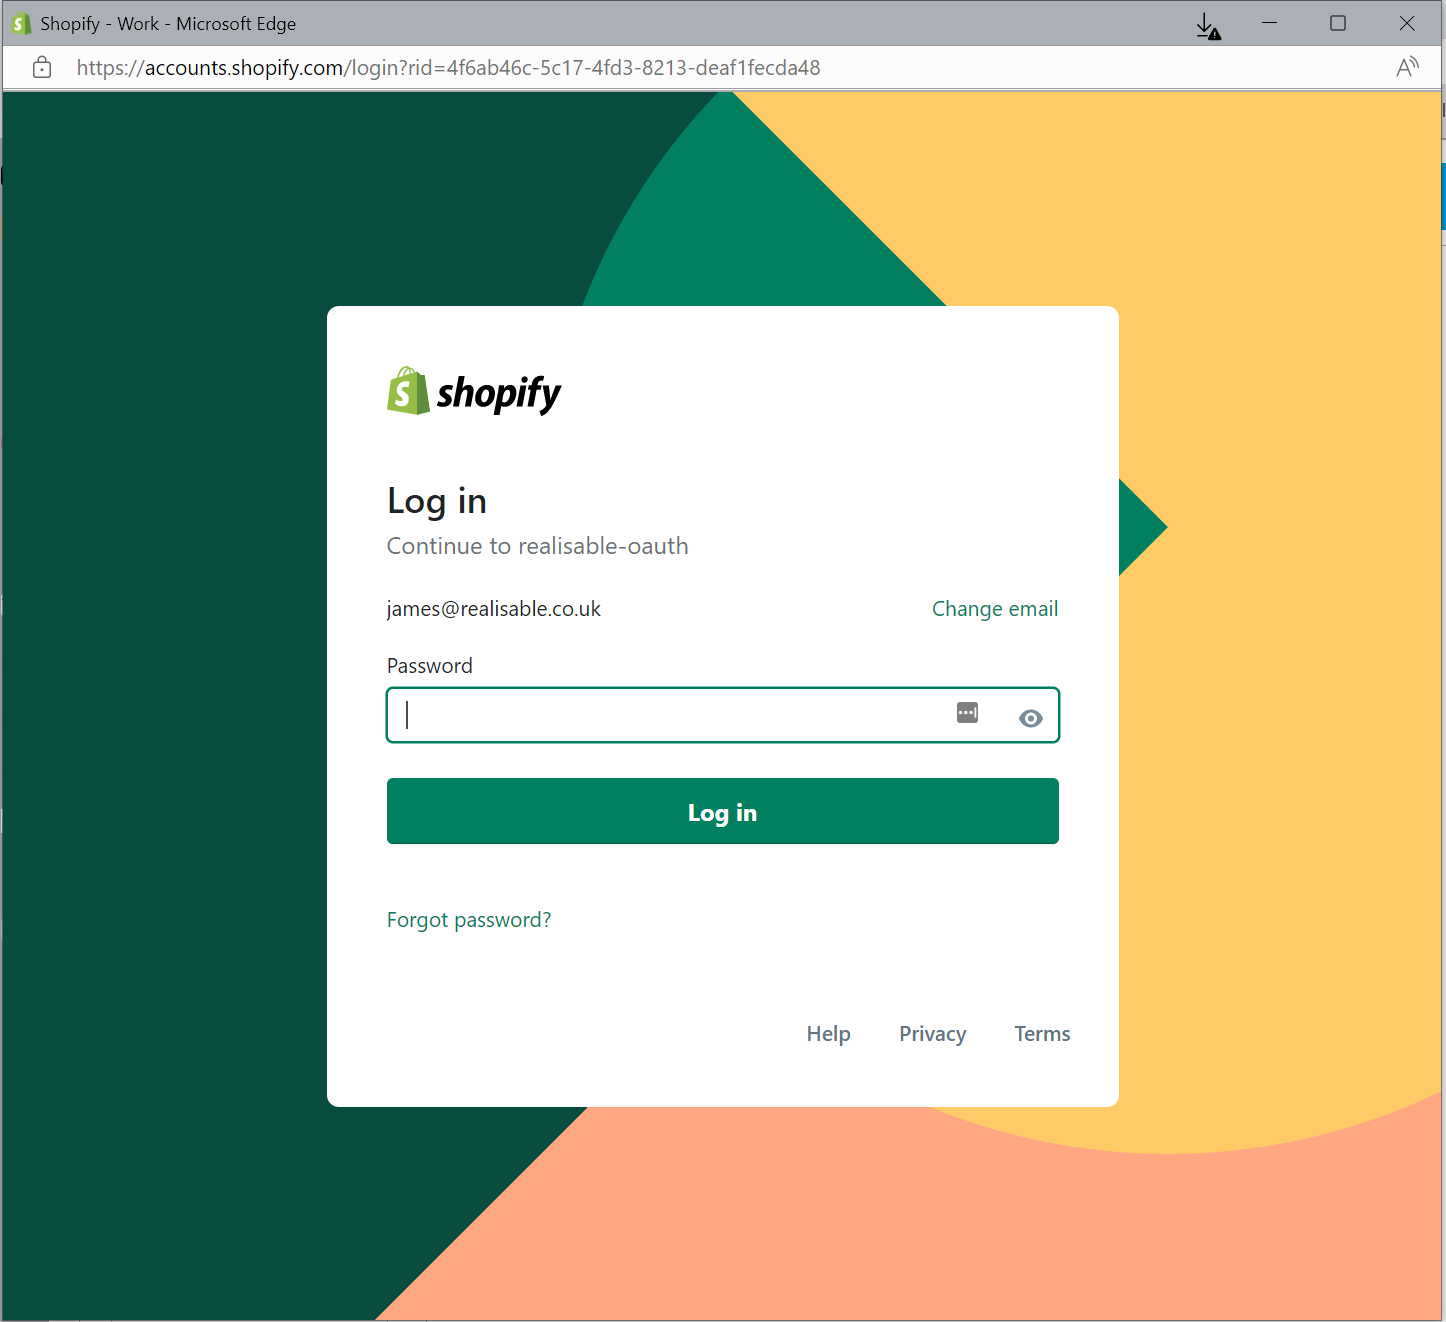
Then confirm the requested scopes and authorise or install the app.