1. Company setup
Sage 300 Intercompany Processing Automation (SAMACCINTCOEXP & SAMACCINTCOIMP)
Two integrations,
SAMACCINTCOEXP
and
SAMACCINTCOIMP,
show how IMan can automate intercompany purchase, sales order and shipment
processing. A purchase order raised in one company becomes a sales order in the
other. The shipment against that sales order comes back as a receipt.
This page covers the setup the two integrations need. It takes longer than any other sample to prepare, and every step is required. Both integrations read and write company-specific records, and each stops at the first thing it cannot find.
Both SAMINC and SAMLTD must exist
Both SAMINC and SAMLTD must exist on your Sage 300 installation.
What IMan needs
IMan needs two ways to reach each company, and you set them up separately.
| A System Connector per company | How IMan writes: it creates the O/E Order in SAMINC and the P/O Receipt in SAMLTD. See System Connectors Setup. |
| A Database Connection per company | How IMan reads, and how it flags what it has processed. See Database Settings. |
The reads are direct database queries because no Sage 300 view answers "which intercompany purchase orders have not been exported yet". For the same reason, the write-back is a direct database update.
Updating the Sage 300 database directly is not a general technique
Update the Sage 300 database directly only in narrow cases like this one, where you flag a single optional field and no other record depends on it. It is not a general technique.
SAMLTD setup
Optional field
-
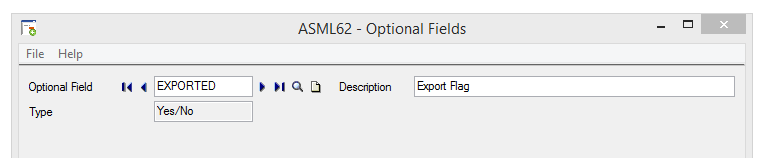
Create a Yes/No optional field titled EXPORTED.
-
Assign it to P/O Purchase Orders:
Value Set Yes Default Value No Required No Auto Insert Yes 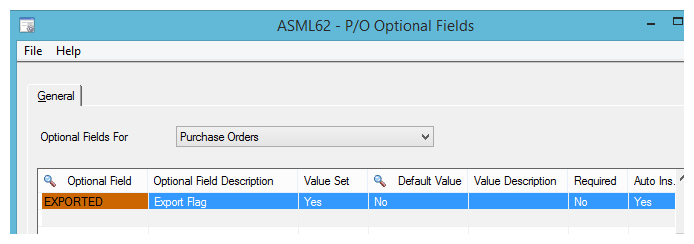
Auto Insert is the important setting. It adds the field to every new purchase order with a default of No, so the export picks up future orders without anyone having to add the field by hand.
Vendor
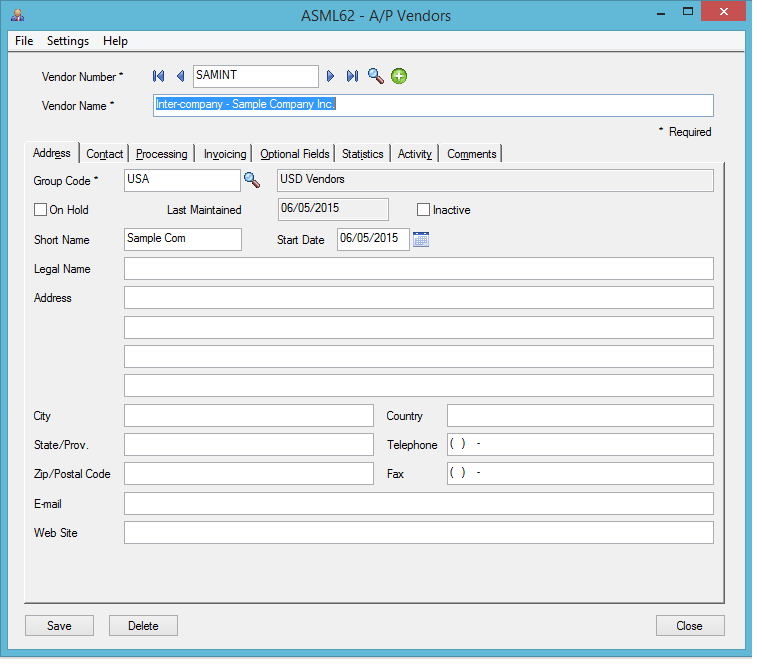
Create an A/P Vendor with the id SAMINT. You raise intercompany purchases against this vendor. The query that extracts orders filters on it to tell an intercompany order from an ordinary one.
SAMINC setup
Optional fields
-
Create a Yes/No optional field titled EXPORTED, as above, and assign it to O/E Shipments:
Value Set Yes Default Value No Required No Auto Insert Yes 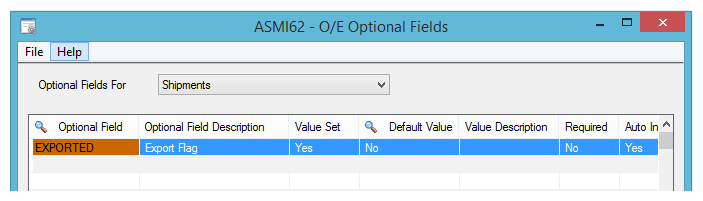
-
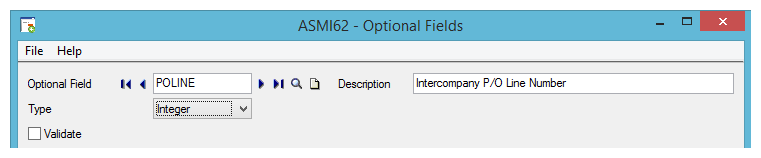
Create an Integer optional field titled POLINE.
-
Assign POLINE to O/E Order Details:
Value Set Yes Default Value 0 Required No Auto Insert Yes 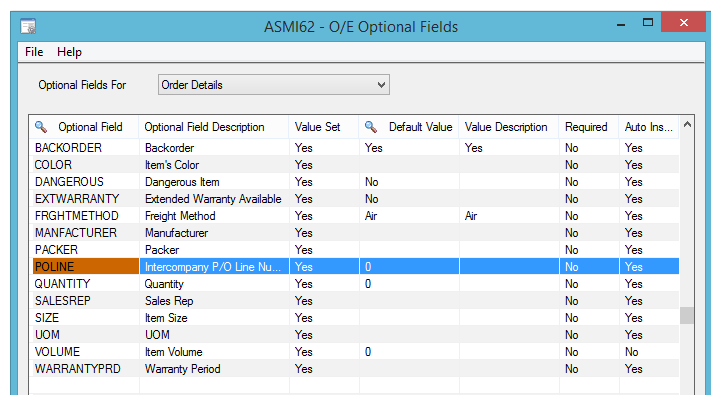
-
Assign POLINE to O/E Shipment Details as well, with the same settings.
POLINE makes the return journey possible. It records which line of the original purchase order each sales order line came from, and it travels with the shipment. Step 3 reads it back to put the right quantity on the right line of the receipt. Without it, IMan cannot match the receipt line for line.
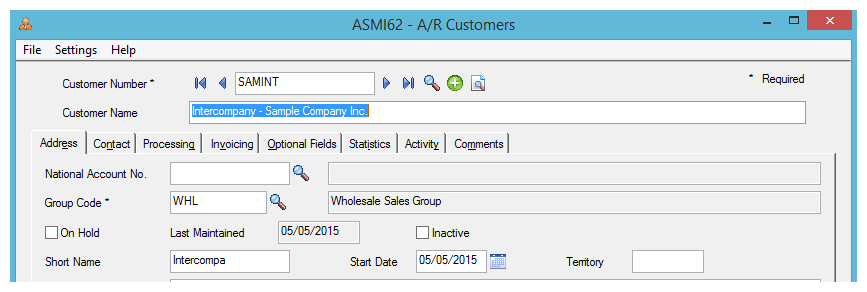
Customer
Create an A/R Customer in SAMINC with the id SAMINT. It is the counterpart of the vendor in SAMLTD, and you raise intercompany sales against it.