Step 3 – Hierarchy Transform
Sage 200, like many applications, needs imported data in a particular structure. For transactional data this often means a header/detail or Hierarchical Data structure.
IMan has three transforms that reshape data: Hierarchy, Flatten and Aggregate.
In this step you use the Hierarchy transform to turn the flat dataset into one with a header/detail (parent/child) structure.
Design > Transform Setup
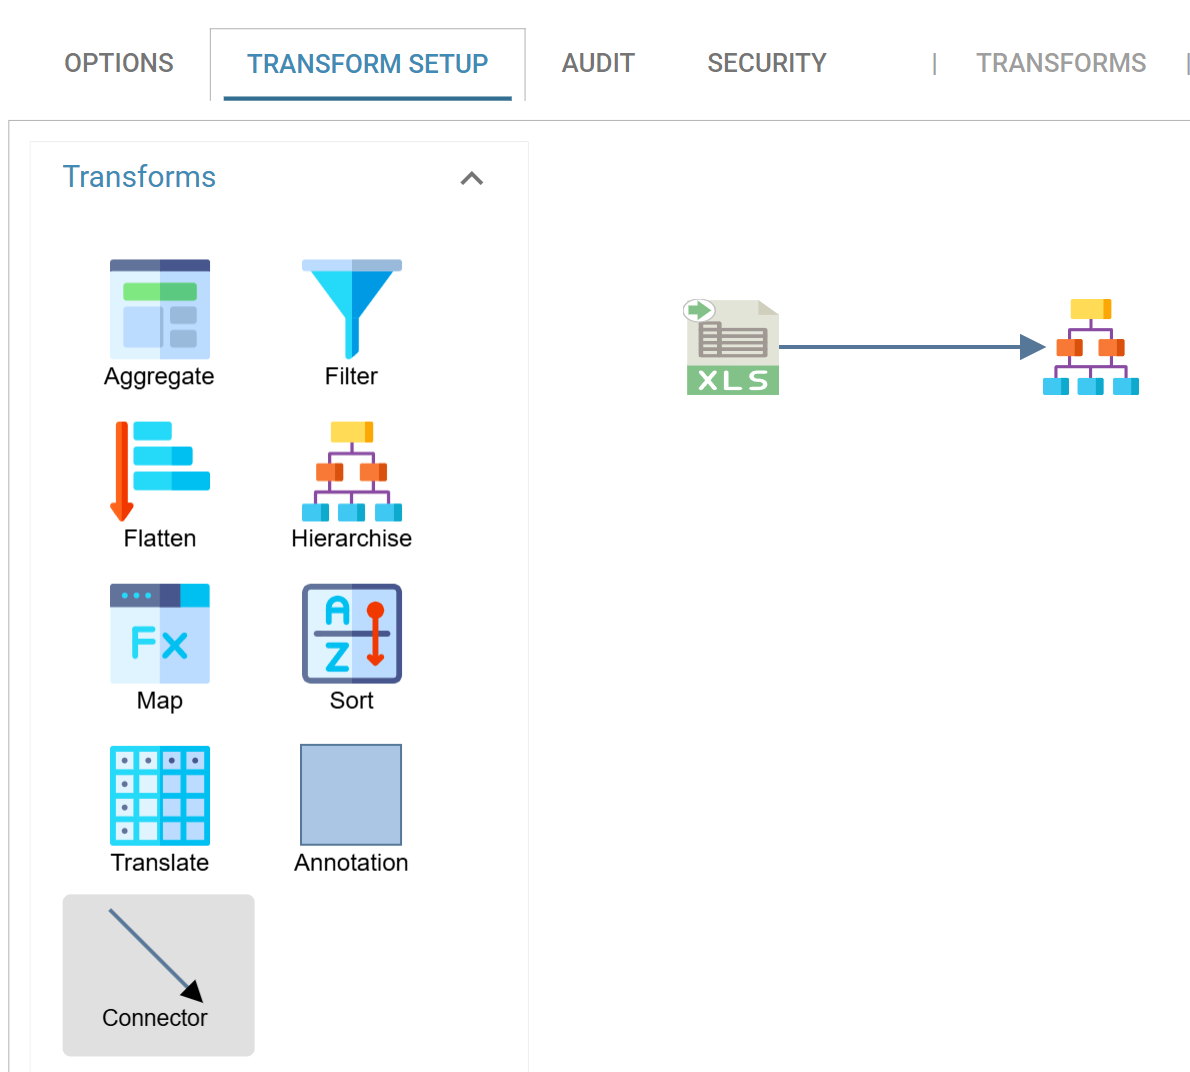
- Press the Transform Setup tab.
- Open the Transforms group in the palette.
- Drag a Hierarchise transform onto the design surface.
- This is the Hierarchy transform; the palette tile is labelled Hierarchise.
-
Drag a Connector from the same group and join the Excel Reader to it.
Transform > Field Mapping
The Hierarchy transform takes one flat transaction and splits it into a parent and a child, using key fields to say which rows belong together.
-
Double click the Hierarchise transform to open it, then press the Field Mapping tab.
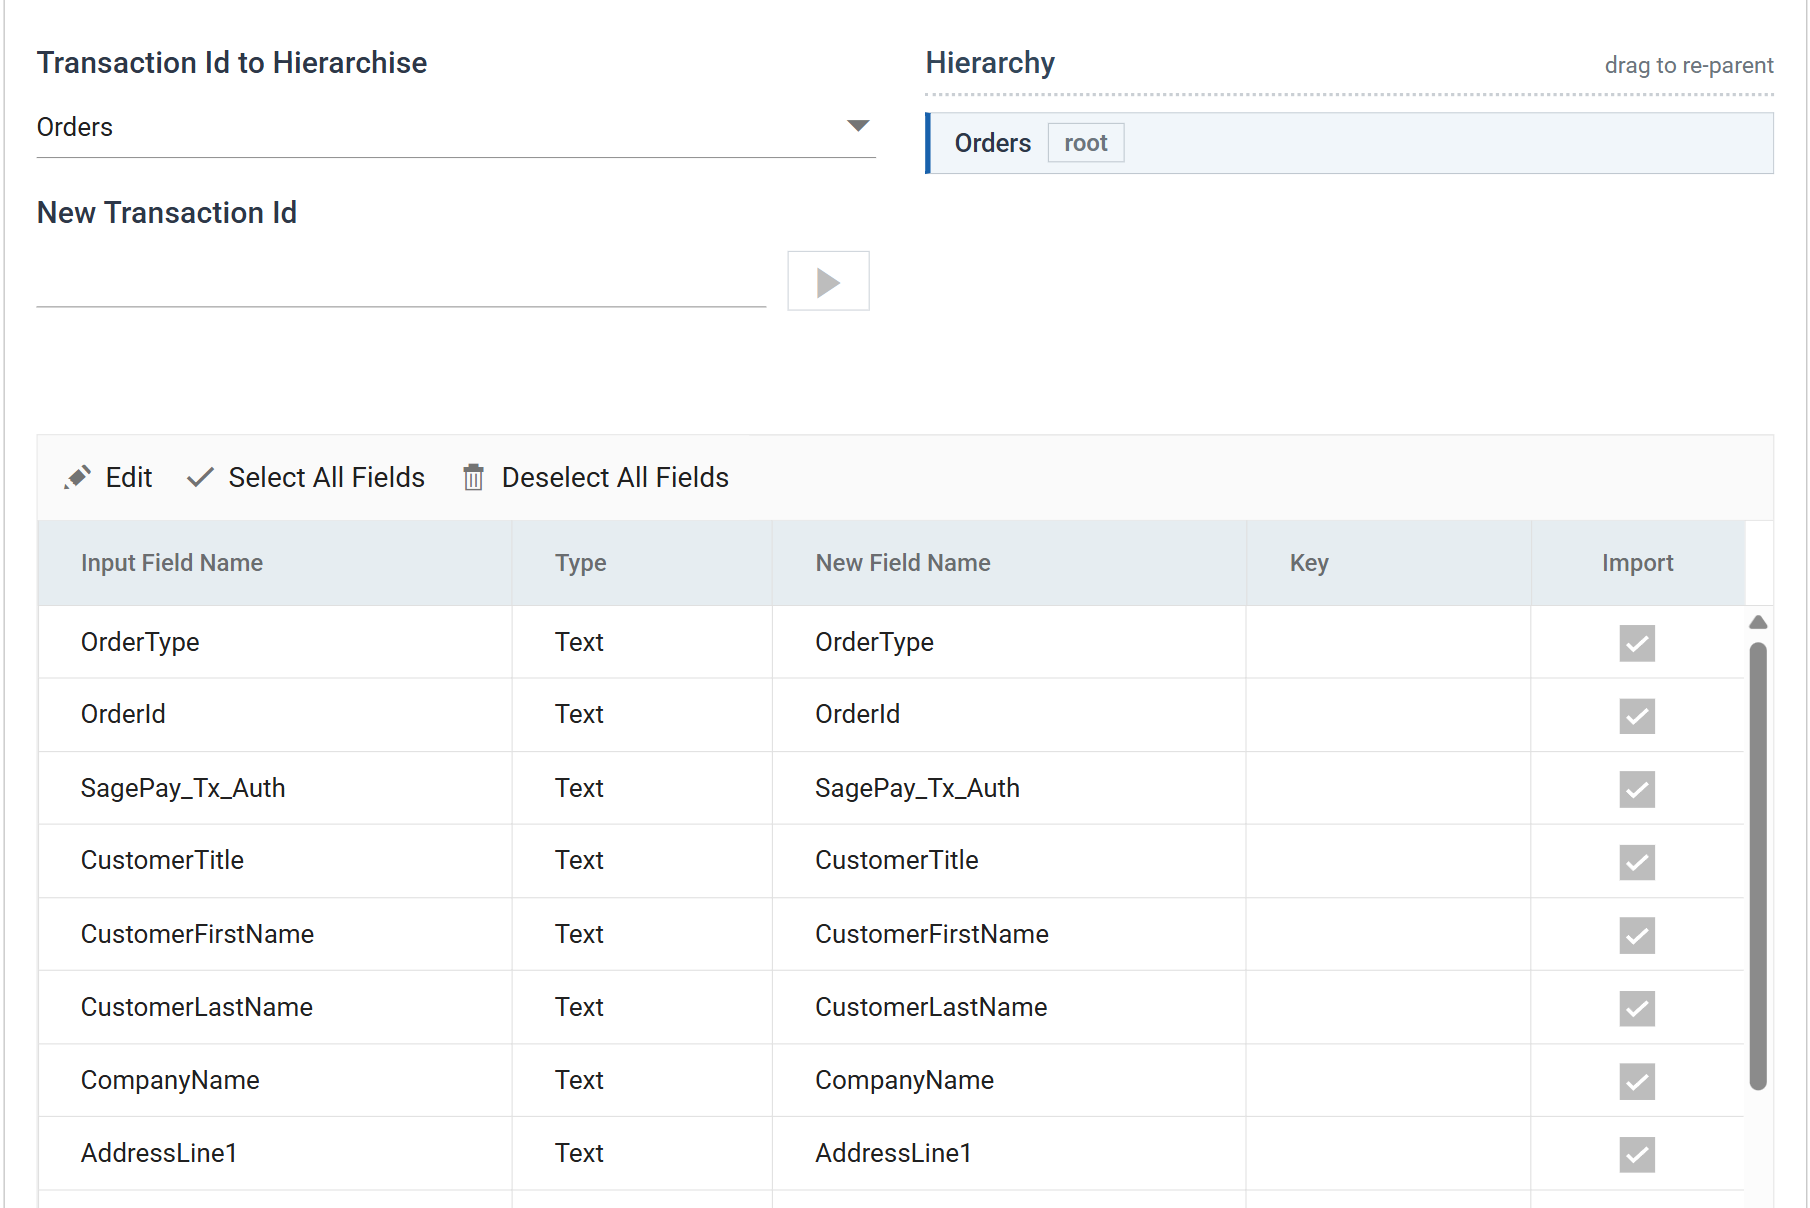
- Transaction Id to Hierarchise already reads
Orders, and the Hierarchy panel showsOrdersas the root. IMan chooses it for you because the Excel Reader has only one transaction.
- Transaction Id to Hierarchise
- The incoming transaction to reshape, which you named in Step 2.
- For training, this is: Orders
- New Transaction Id
- Names a new level to add beneath the current one. The button beside it stays disabled until the box has a value.
- Hierarchy
- The structure you are building. It starts as a single root, and each level you add appears beneath its parent. Drag one level onto another to re-parent it.
- Transaction Id to Hierarchise already reads
-
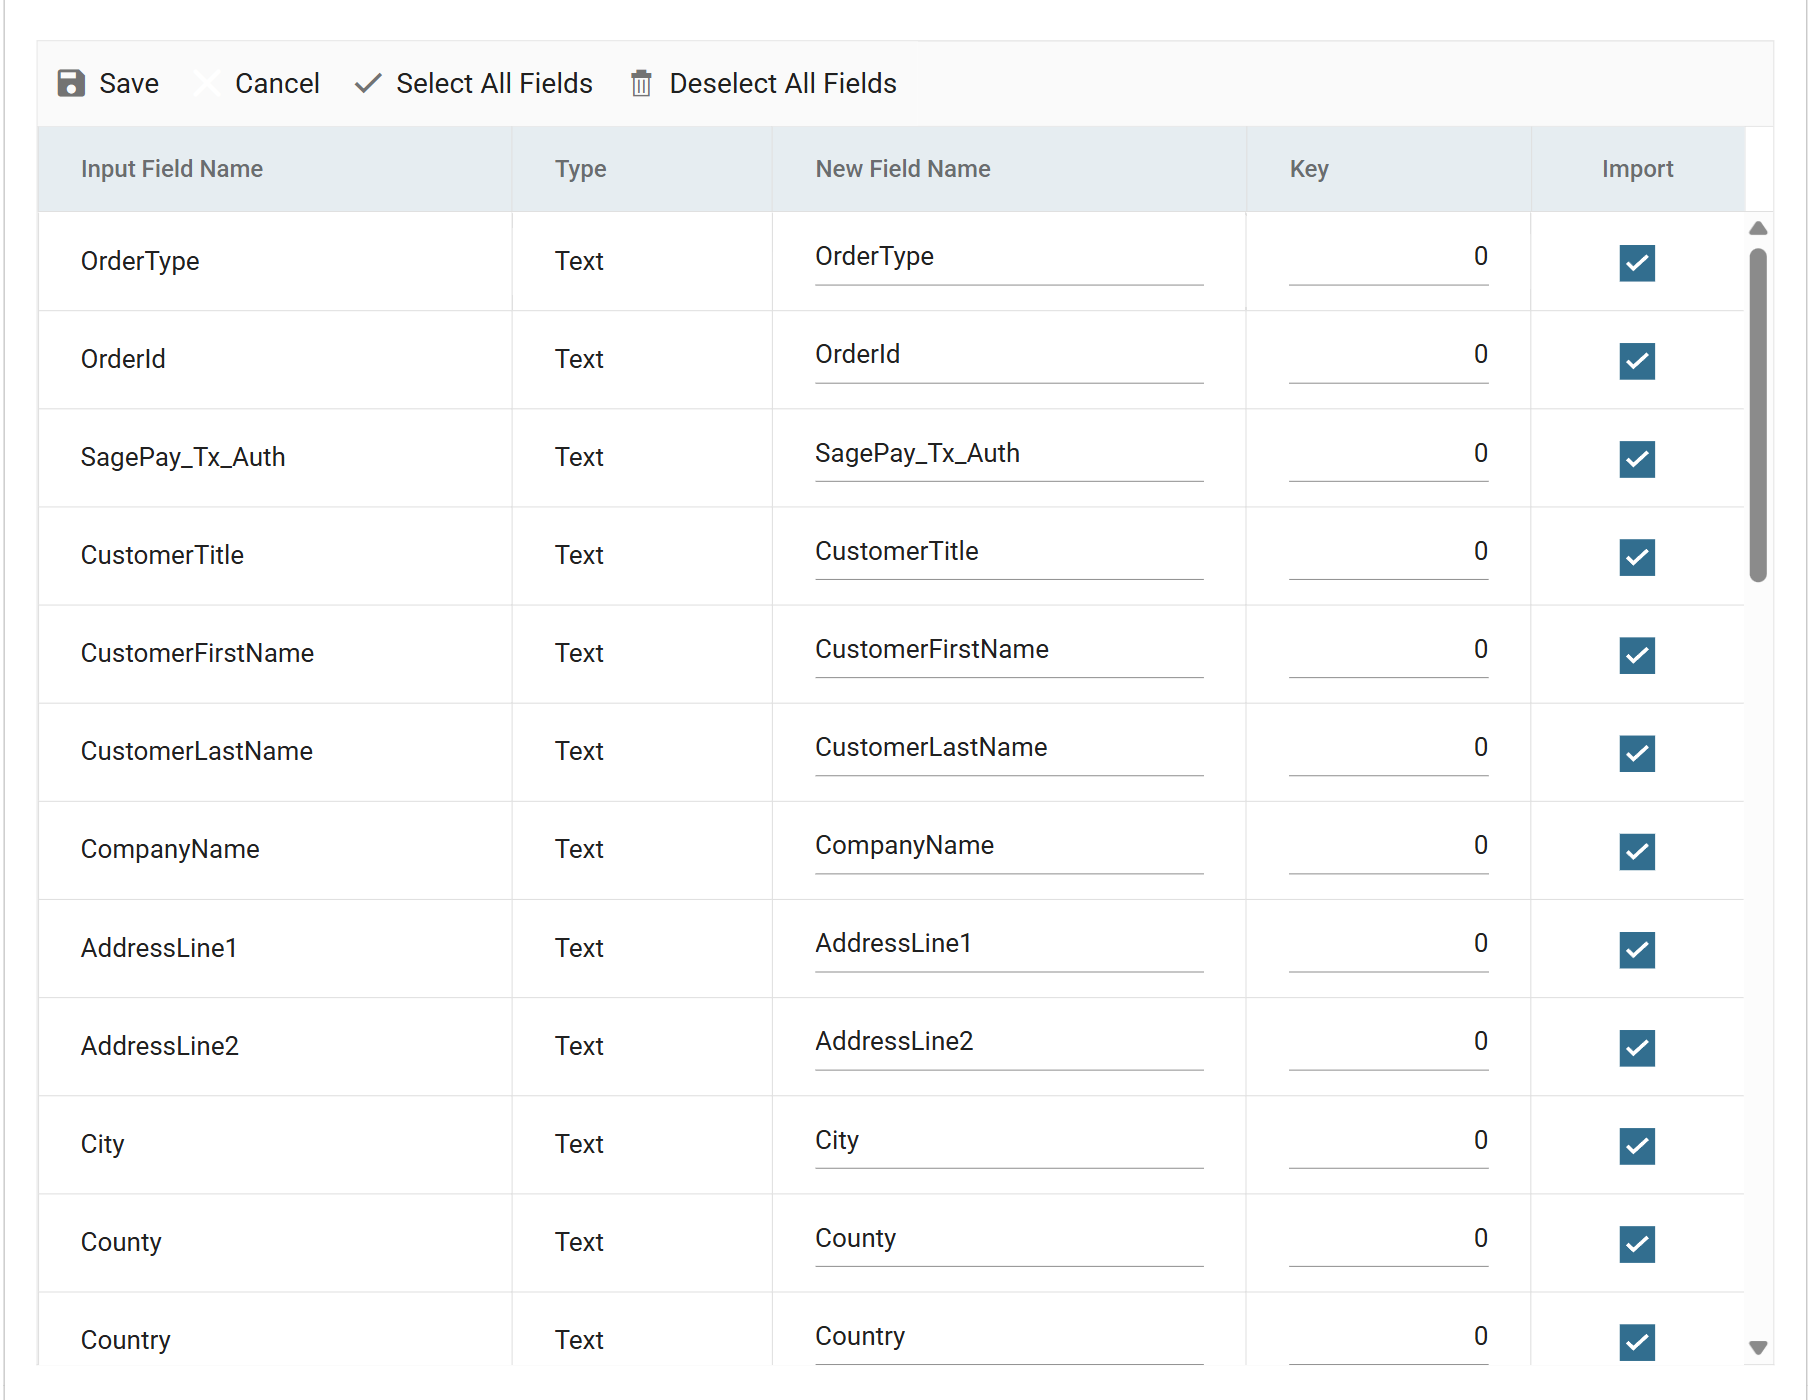
Press Edit above the grid to make the field list editable.
- The toolbar also offers Select All Fields and Deselect All Fields, which act on every row at once.
- The grid is a single scrolling list with no pages.
-
Set the Key of
OrderIdto1.- This begins the header/detail relationship: rows sharing an
OrderIdbecome one header. - Every key starts at
0, which means "not a key".
- This begins the header/detail relationship: rows sharing an
-
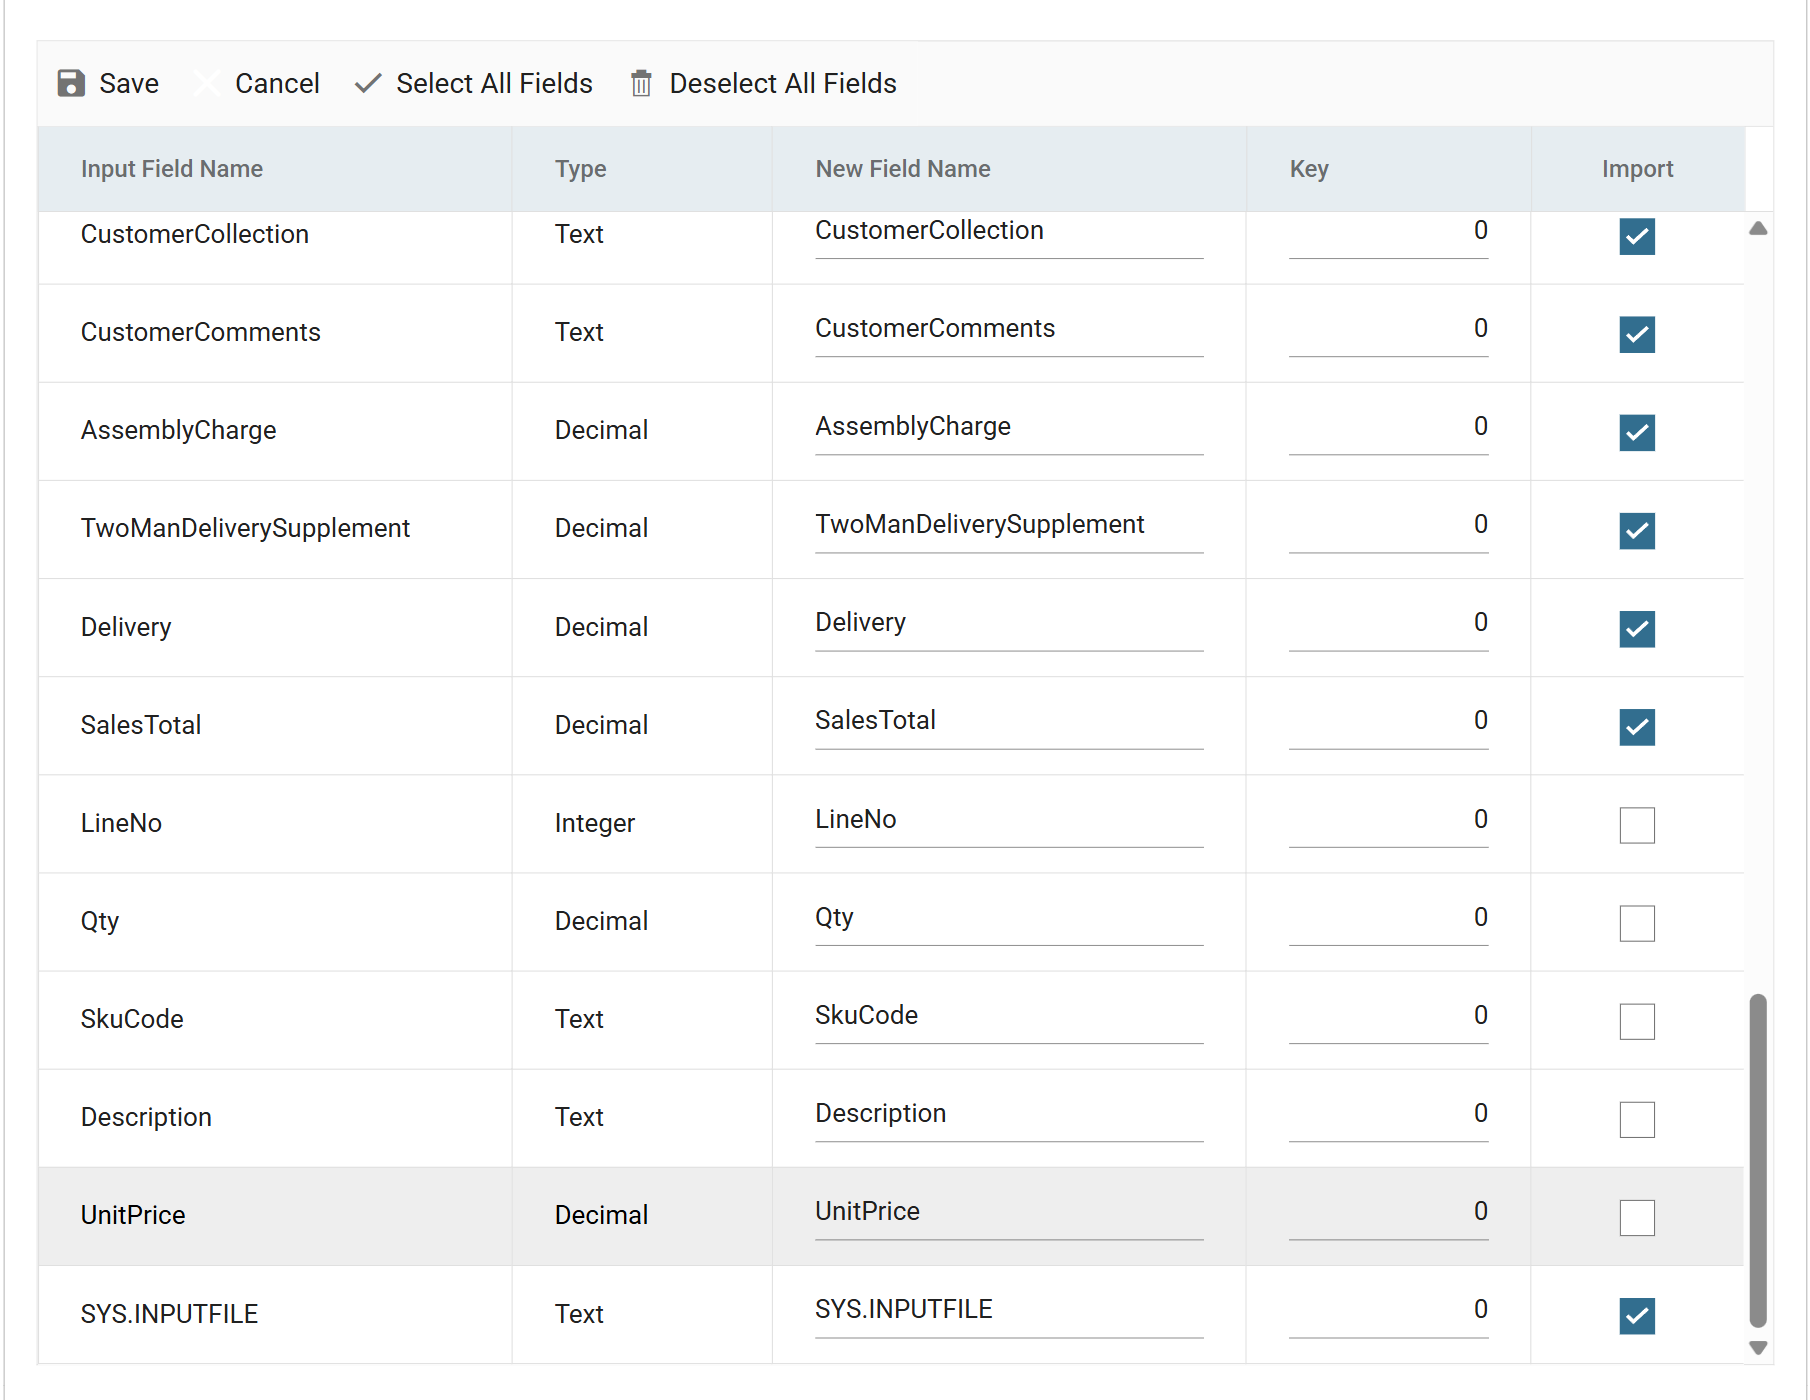
Scroll to the end of the list and untick Import for the detail line fields:
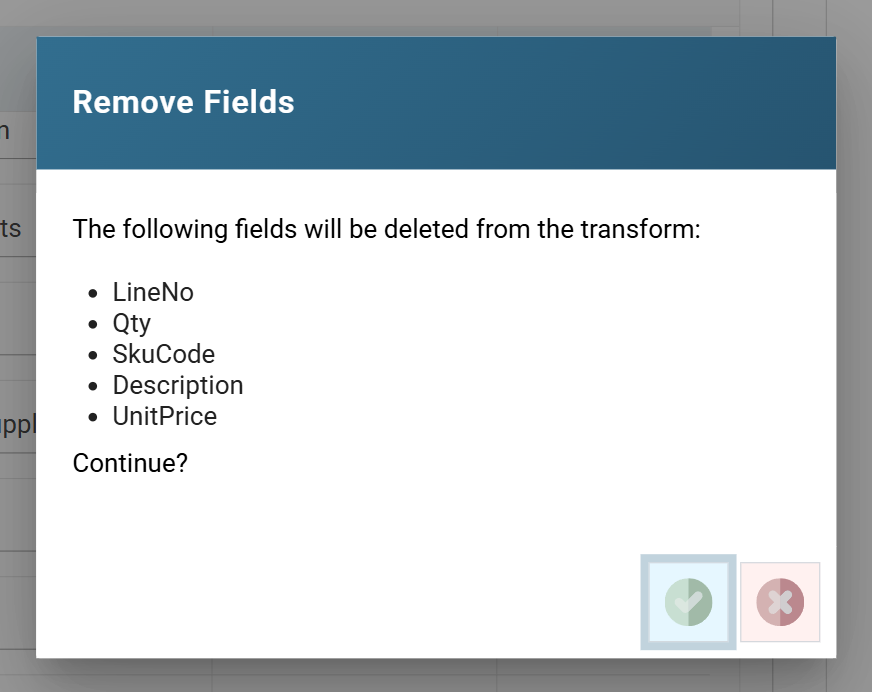
Field Name LineNo Qty SkuCode Description UnitPrice The end of your list should now look like this:
A composite key is numbered 1, 2, 3
If several fields together form a unique key, set their keys to 1, 2, 3 and so on.
-
Press Save above the grid.
- IMan lists the fields it is about to remove and asks you to confirm. Press the tick to continue.
Adding the detail level
-
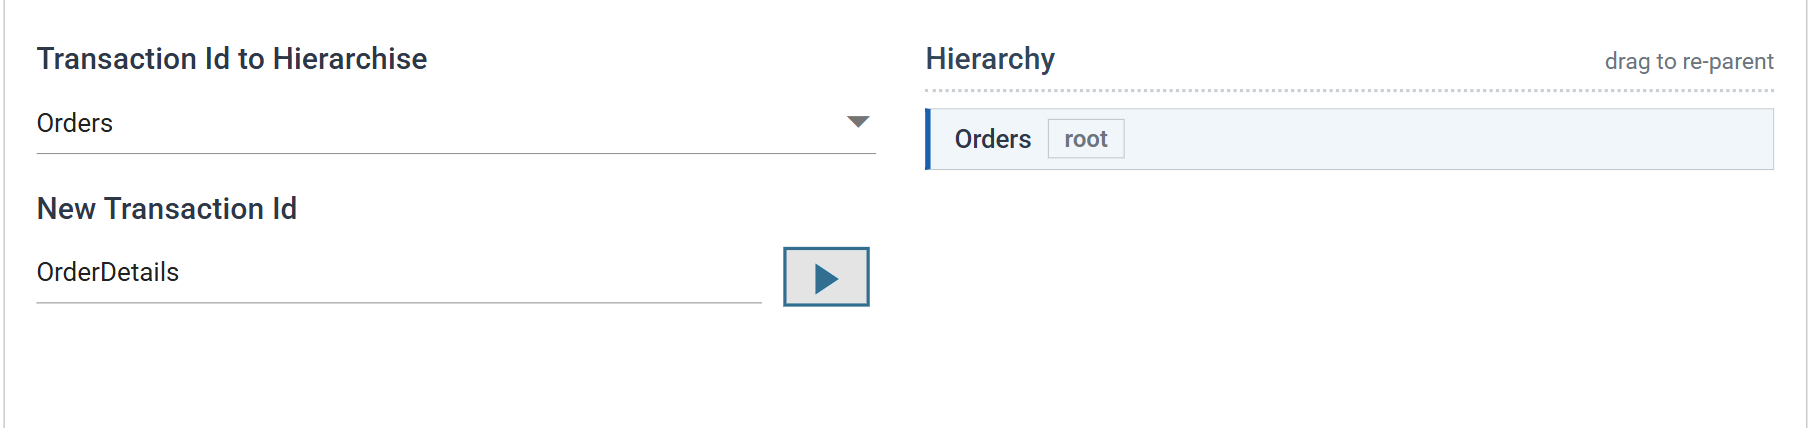
Enter
OrderDetailsinto the New Transaction Id box.- The button beside it becomes enabled once the box has a value.
-
Press the add button to create the level.
OrderDetailsappears in the Hierarchy panel, nested beneathOrders.
-
Press Edit above the grid, then Deselect All Fields and confirm the prompt.
- A new level starts with every field selected. It is quicker to clear them all and pick the few you want.
-
Tick Import for the detail fields, and set their keys:
Field Name Key OrderId 1 LineNo 2 Qty leave at 0 SkuCode leave at 0 Description leave at 0 UnitPrice leave at 0 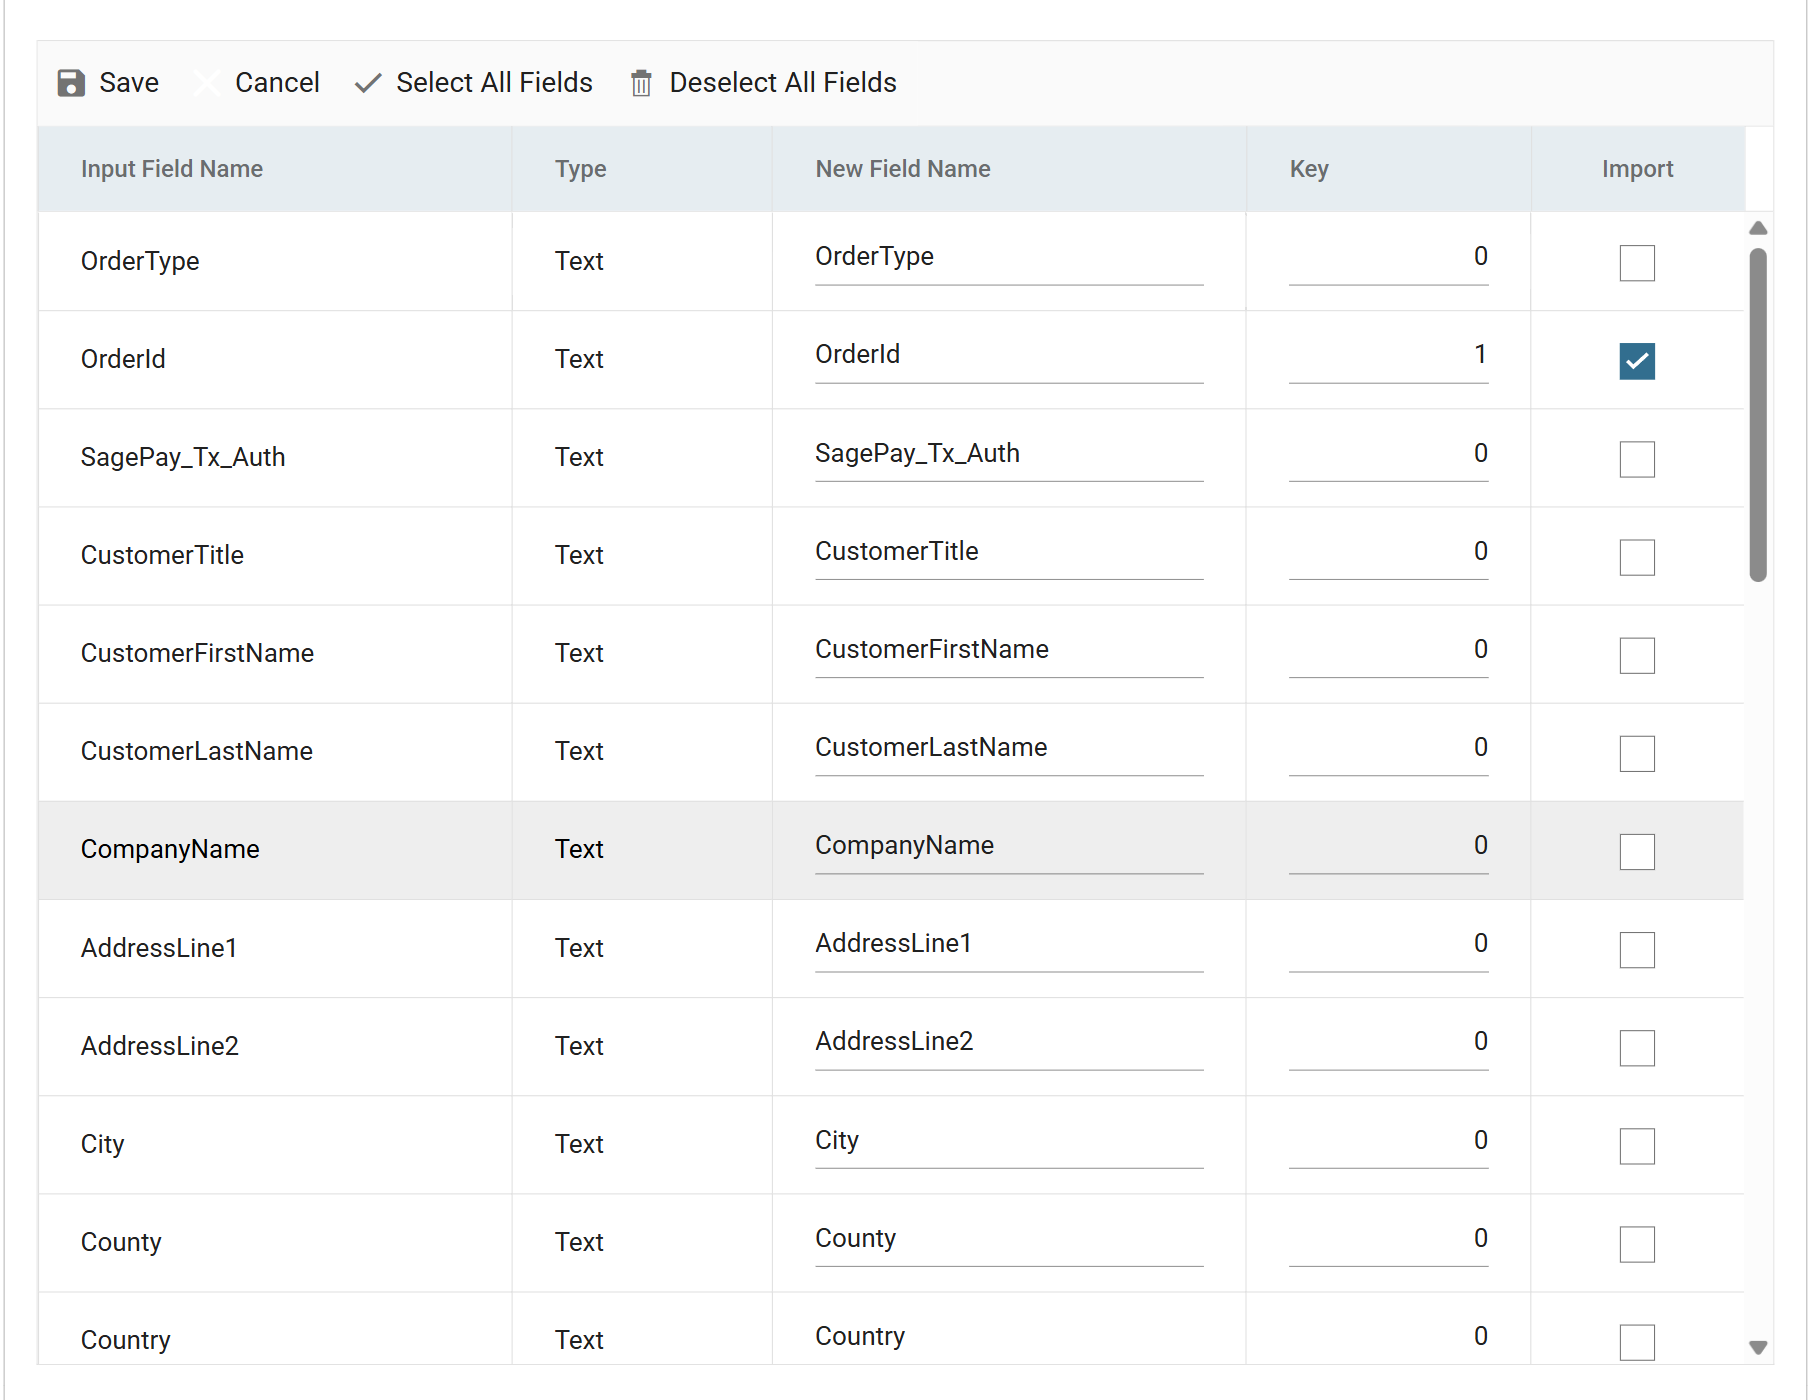
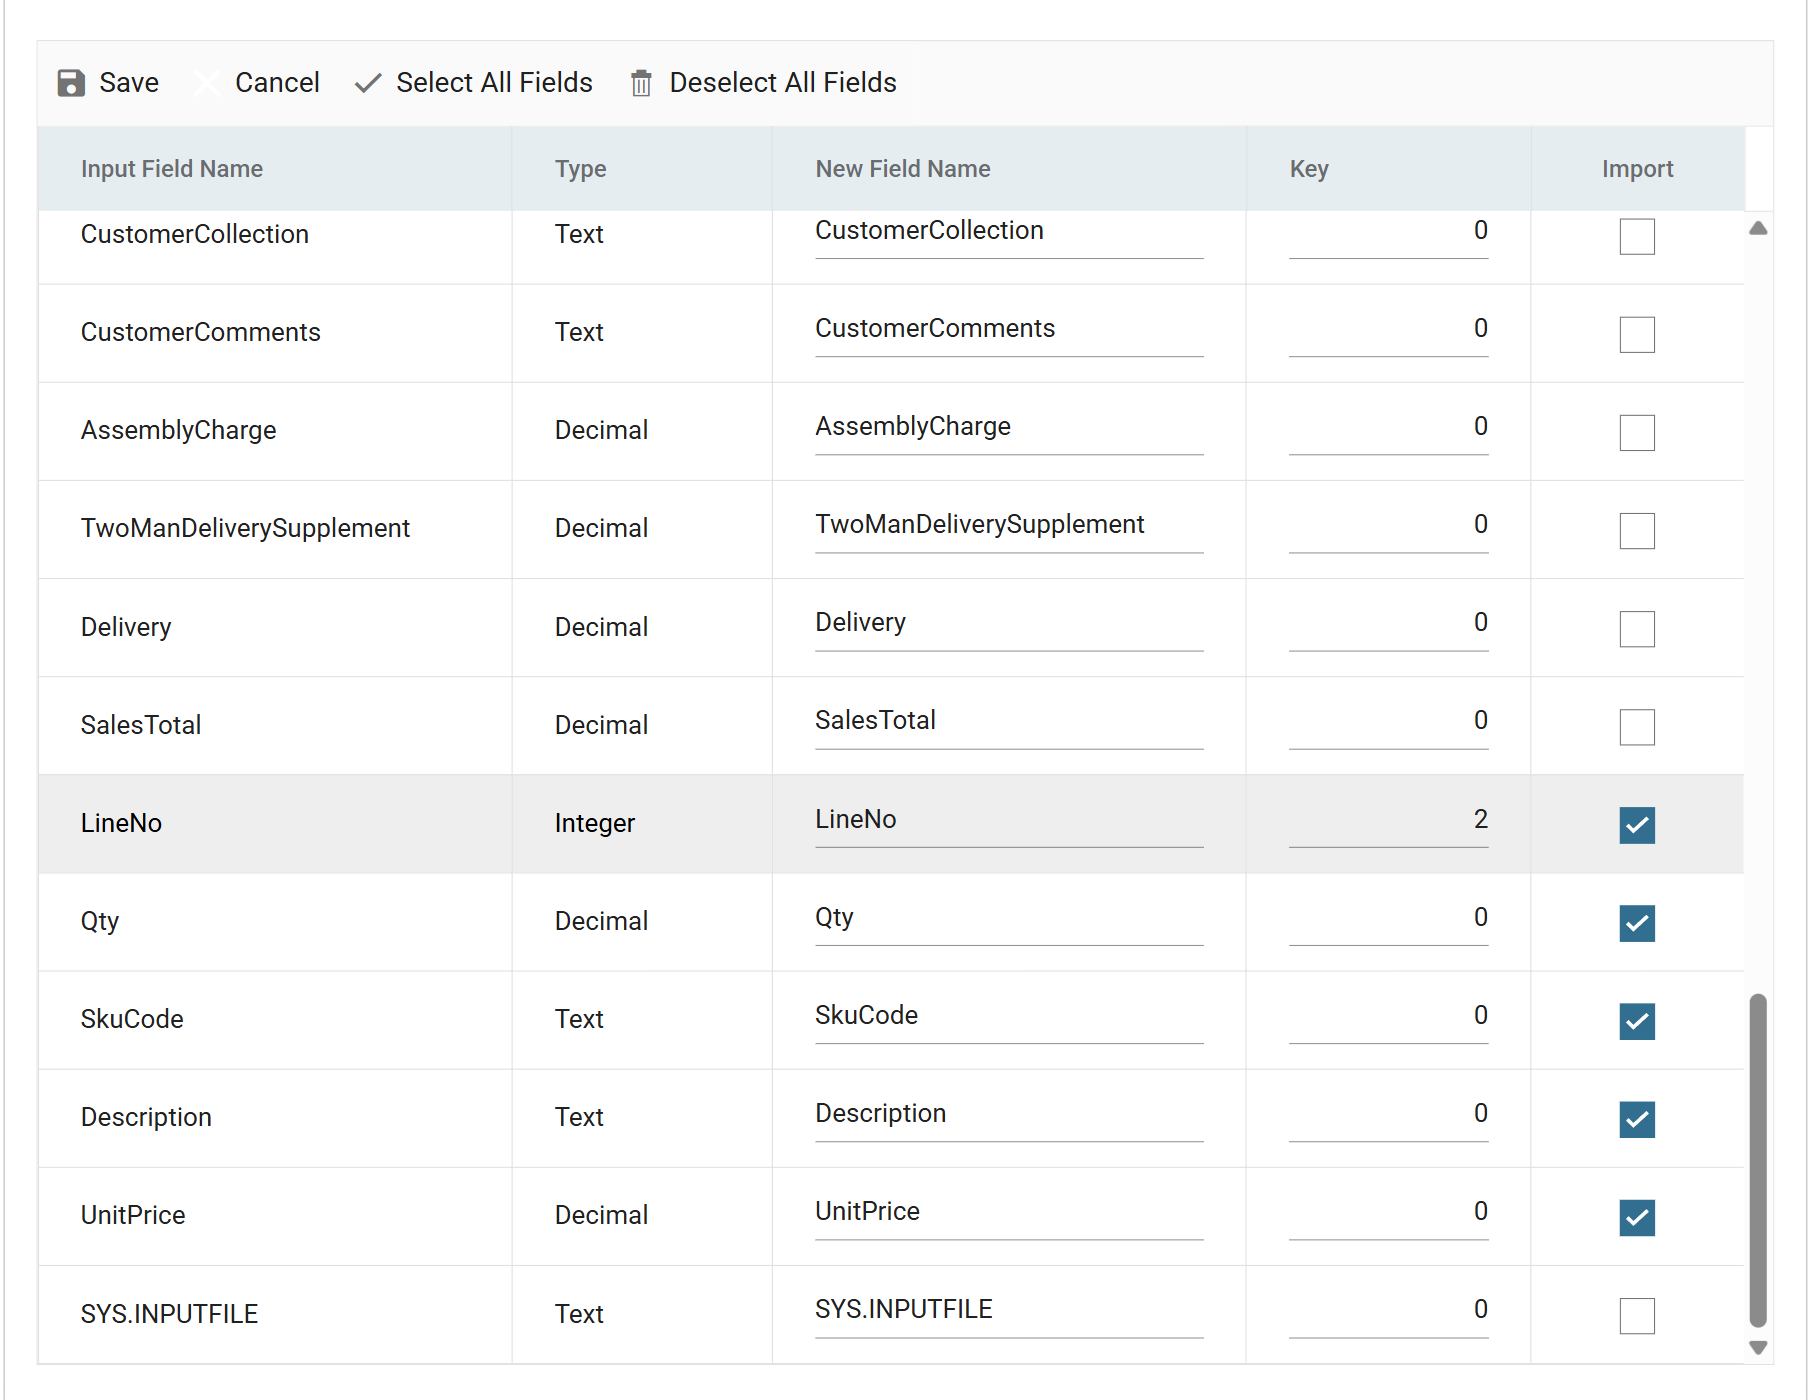
Every level needs one more key field than its parent
IMan requires every level to have at least one more key field than its parent. That is why the detail has two key fields.
-
Press Save above the grid.
- The Hierarchy panel now shows the finished structure:
Ordersas the root, withOrderDetailsbeneath it.
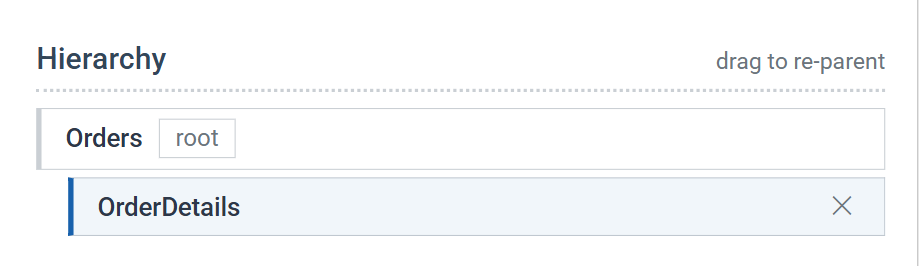
- The Hierarchy panel now shows the finished structure:
Checking the result
- Press Refresh.
-
Press the arrow at the start of a row to expand it.
- The header row opens to reveal the
OrderDetailsrecords belonging to that order. The three rows that sharedFBRN-309243have become one header with three lines beneath it. This is the structure Sage 200 expects. - The detail grid's columns are much wider than the pane, so at first only one or two are in view. Scroll right, or drag the column edges in, to see all six at once as below.
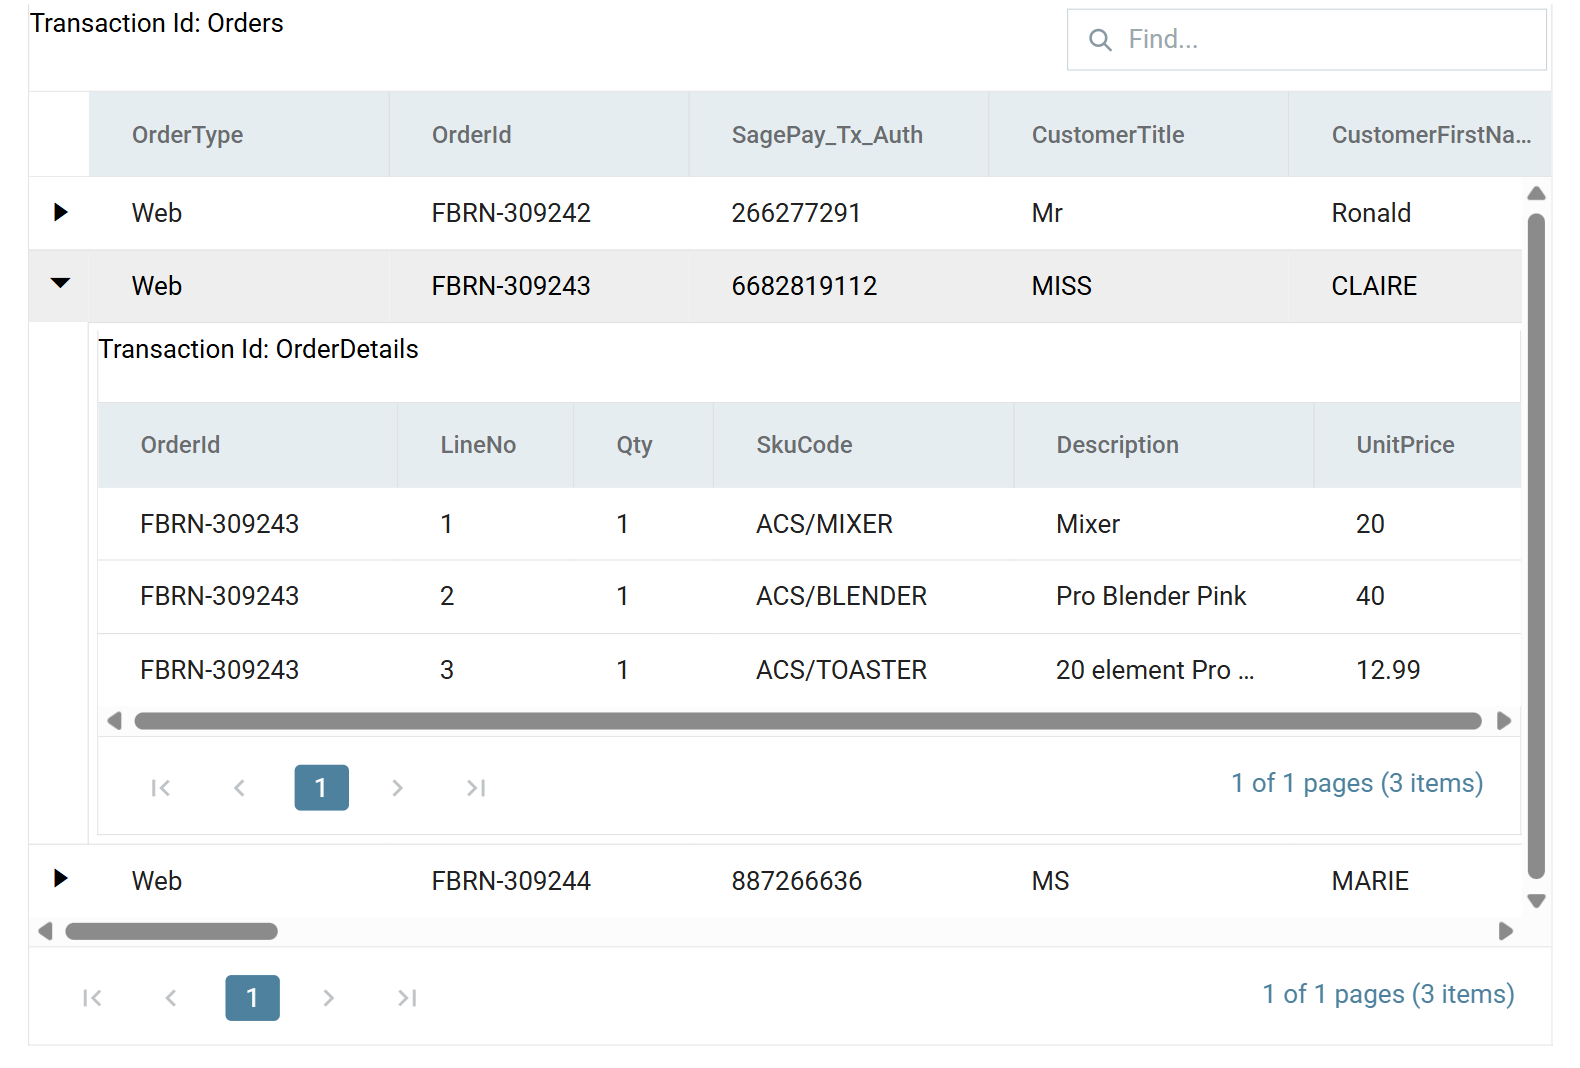
- The header row opens to reveal the
-
Press Close at the bottom of the transform, then Save the integration.