Step 2 – Excel Read Transform
In this step you set up a reader transform to pull data from an Excel file.
Download the sample workbook and save it to C:\IMan\InputData\Training. Every later step reads it, and Steps 11 and 12 move it. Keep a copy.
Design > Transform Setup
- Press the Transform Setup tab.
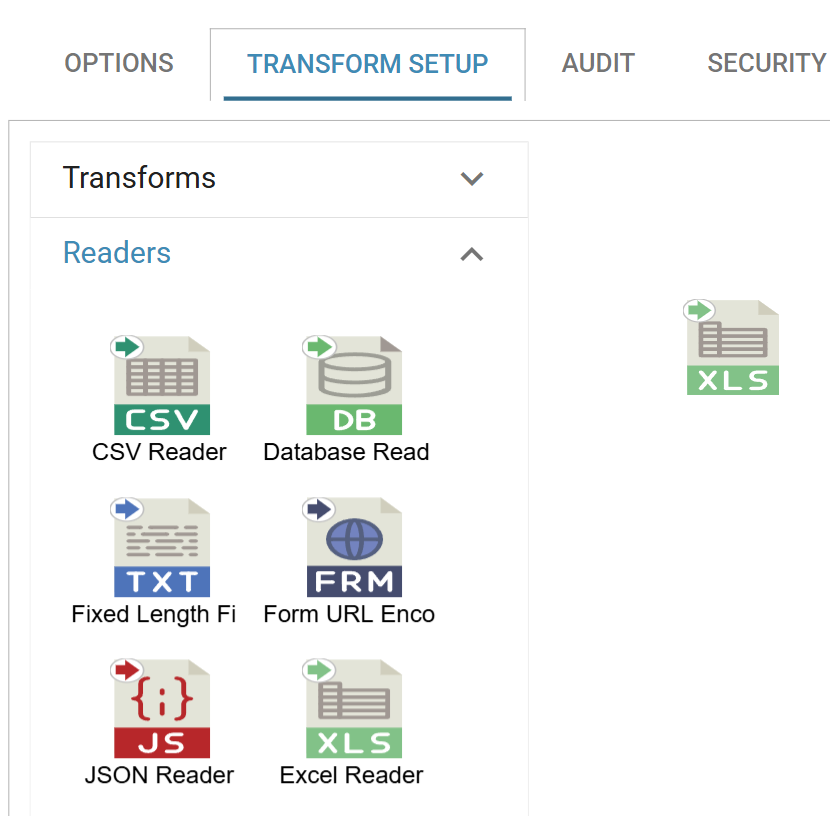
- Open the Readers group in the palette.
-
Drag an Excel Reader onto the design surface.
Transform > Setup
- Double click the Excel Reader to open it.
- It opens as a tab across the top of the screen, alongside Options and Transform Setup, rather than as a pop-up window. You can leave several transforms open at once and move between them.
-
Fill in the transform id and the Source section:
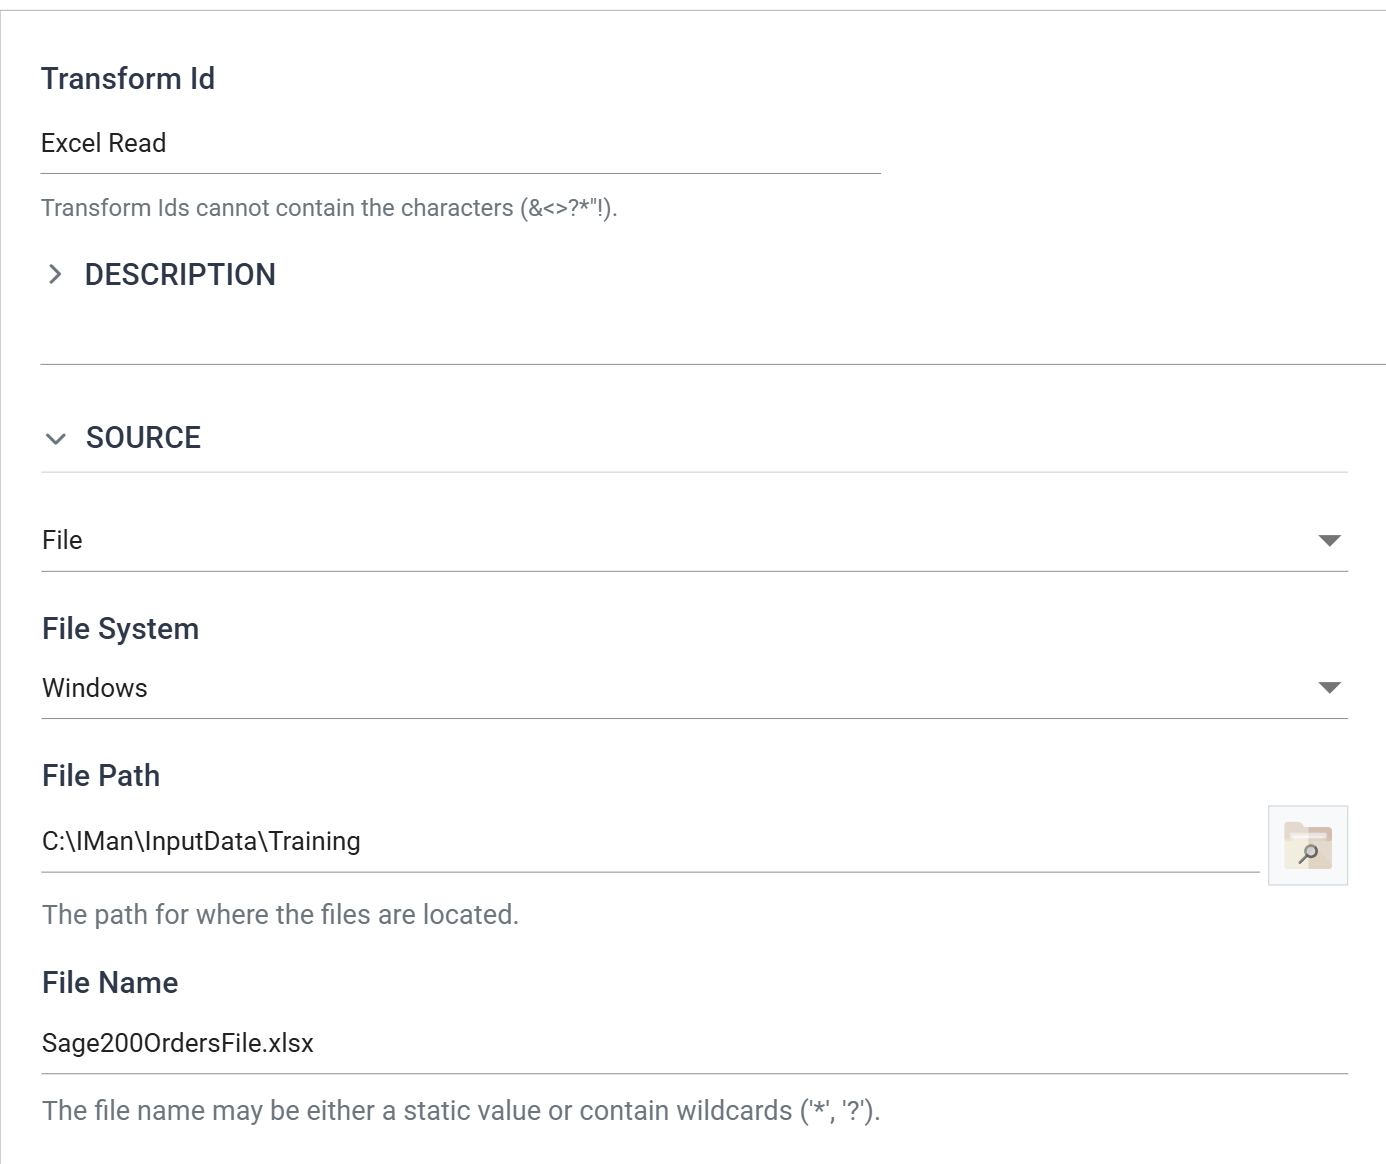
- Transform Id
- A unique id for the transform. IMan shows it in the detail section of the audit report.
- For training, enter: Excel Read
- Data Source
- For training, choose: File
- File System
- The system that holds the file.
- For training, leave as: Windows
- File Path
- The folder that holds the files. The button beside it opens a folder browser.
- For training, enter: C:\IMan\InputData\Training
- File Name
- Either a fixed name or a pattern containing the wildcards ‘*’ or ‘?’.
- For training, enter: Sage200OrdersFile.xlsx
- Transform Id
-
Open the Options section and set the remainder:
- Worksheet Id
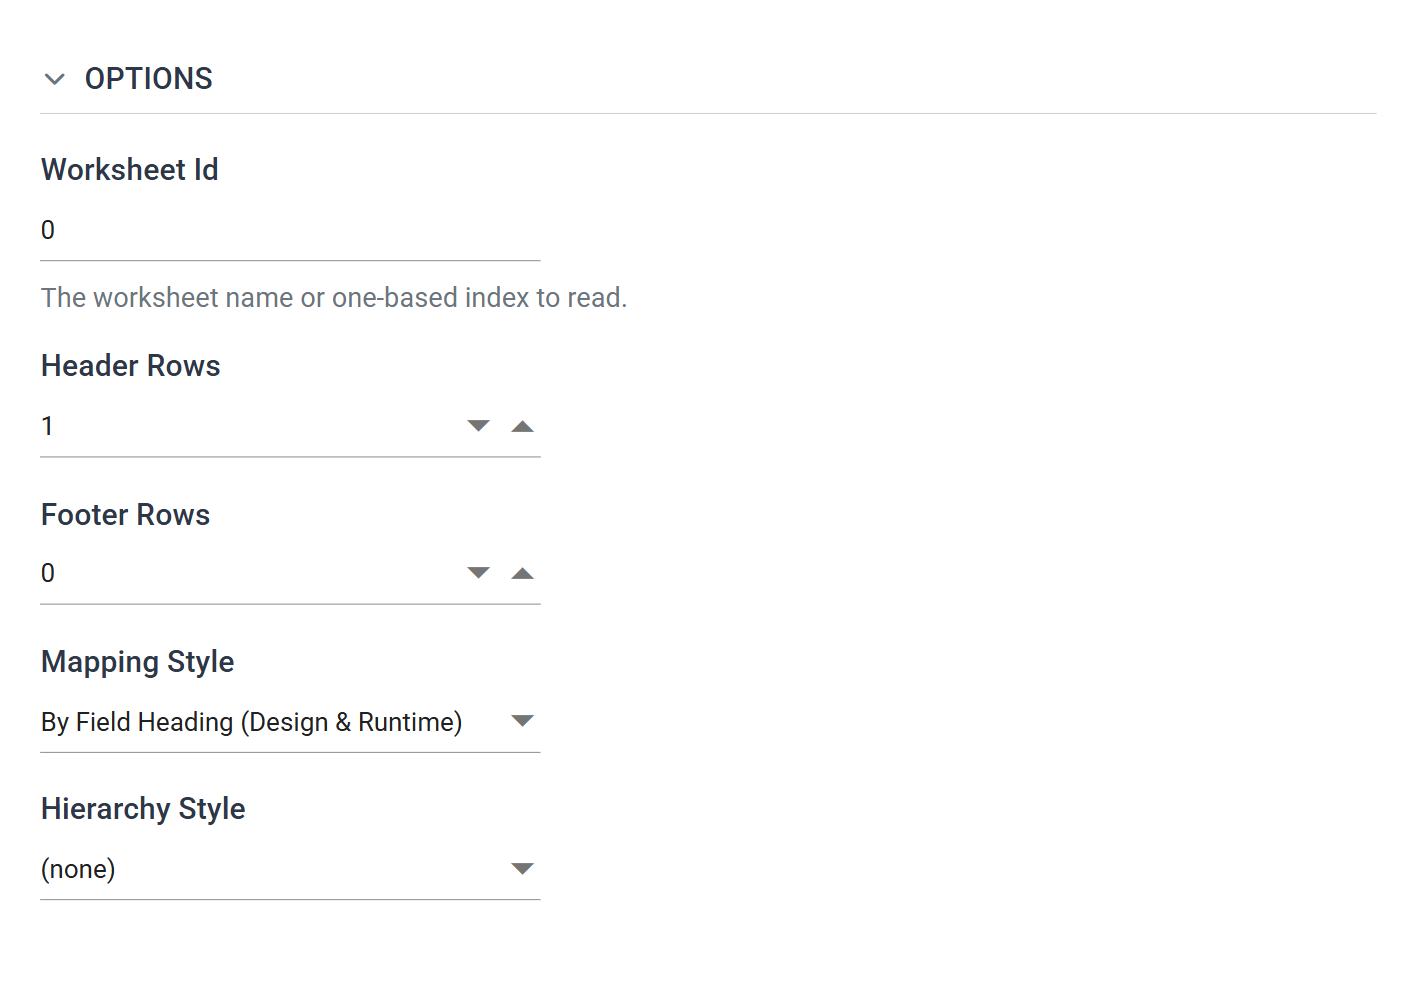
- The worksheet that holds the data, given by name or by index.
- For training, enter: 0
- Header Rows
- The number of rows containing ‘header’ text. In this example, there is one header row, containing the field names.
- For training, enter: 1
- Footer Rows
- The number of rows to ignore at the end of the sheet.
- For training, leave as: 0
- Mapping Style
- With ‘By Field Heading’, IMan reads the field names from the header row(s) above the data.
- For training, leave as: By Field Heading (Design & Runtime)
- Hierarchy Style
- Used where a single file holds more than one record type. You do not need it here. You build the hierarchy in Step 3.
- For training, leave as: (none)
- Worksheet Id
-
Press Refresh.
- The right-hand pane displays the file. Every screen except Tasks shows a live preview of the data being processed.
- The status above the grid reads Progress - Completed when IMan has generated the data.
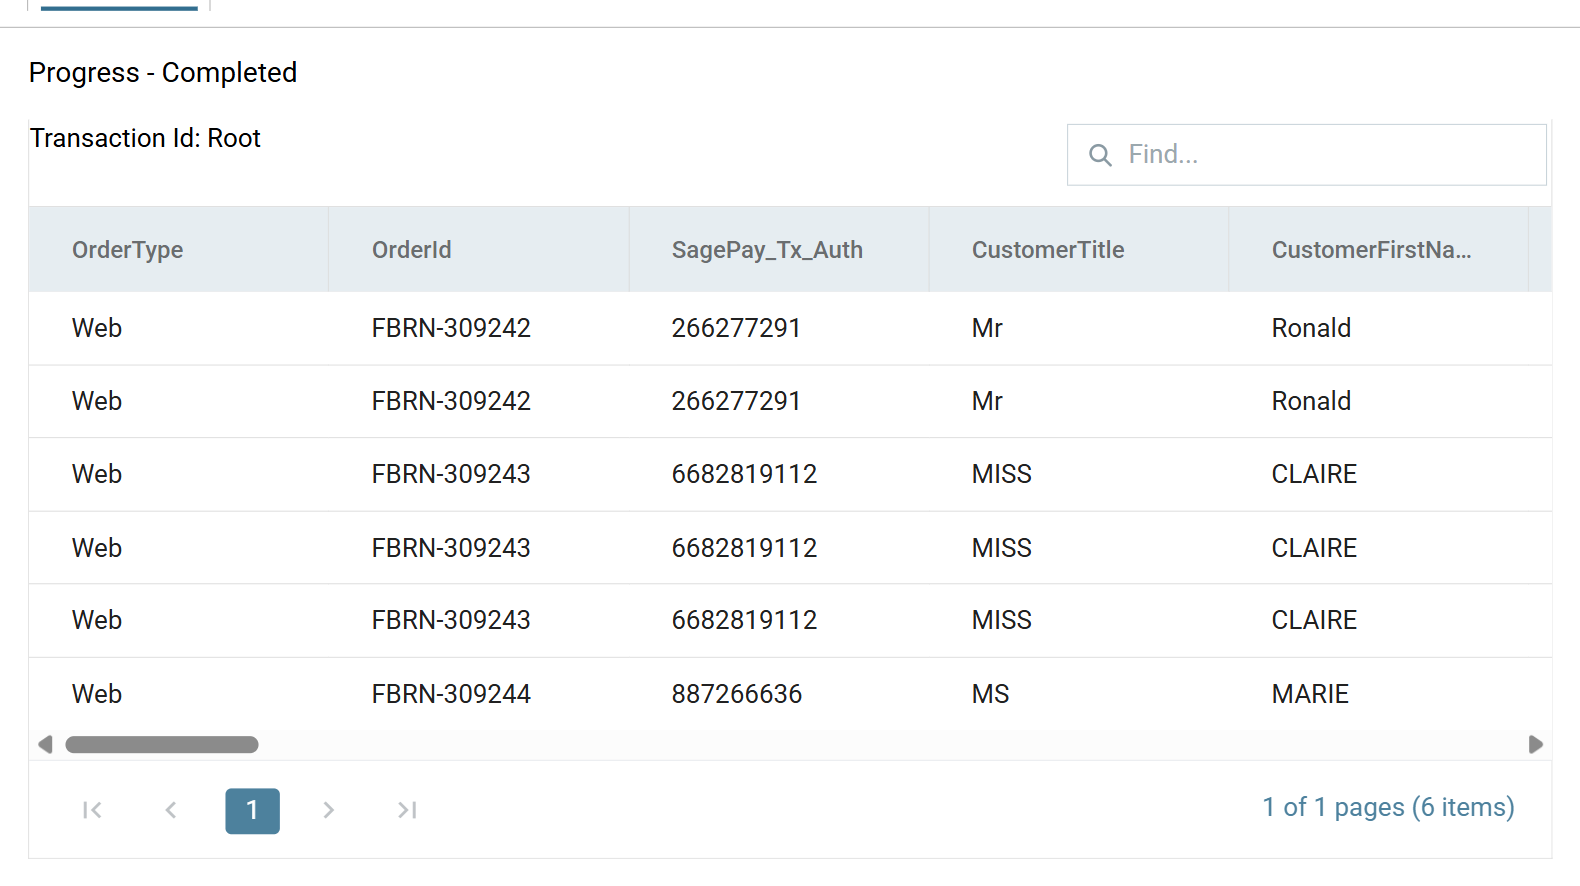
The preview is cleared when you move away from it
IMan clears the preview whenever you move away from it. Press Refresh again to fill it. The Trace and Audit tabs beside the preview show the detail of a run. A dot appears on a tab when it has something new to show.
Transform > Field Mapping
Here you name the transaction and change some of the field types.
Setting the types is housekeeping, not a requirement
You do not have to change the field types, because IMan will attempt to convert them where necessary. Setting them is good housekeeping and avoids problems later.
-
Press the Field Mapping tab.
- The Transaction strip above the grid names the transaction this reader produces. A flat file produces a single transaction, named
Rootby default.
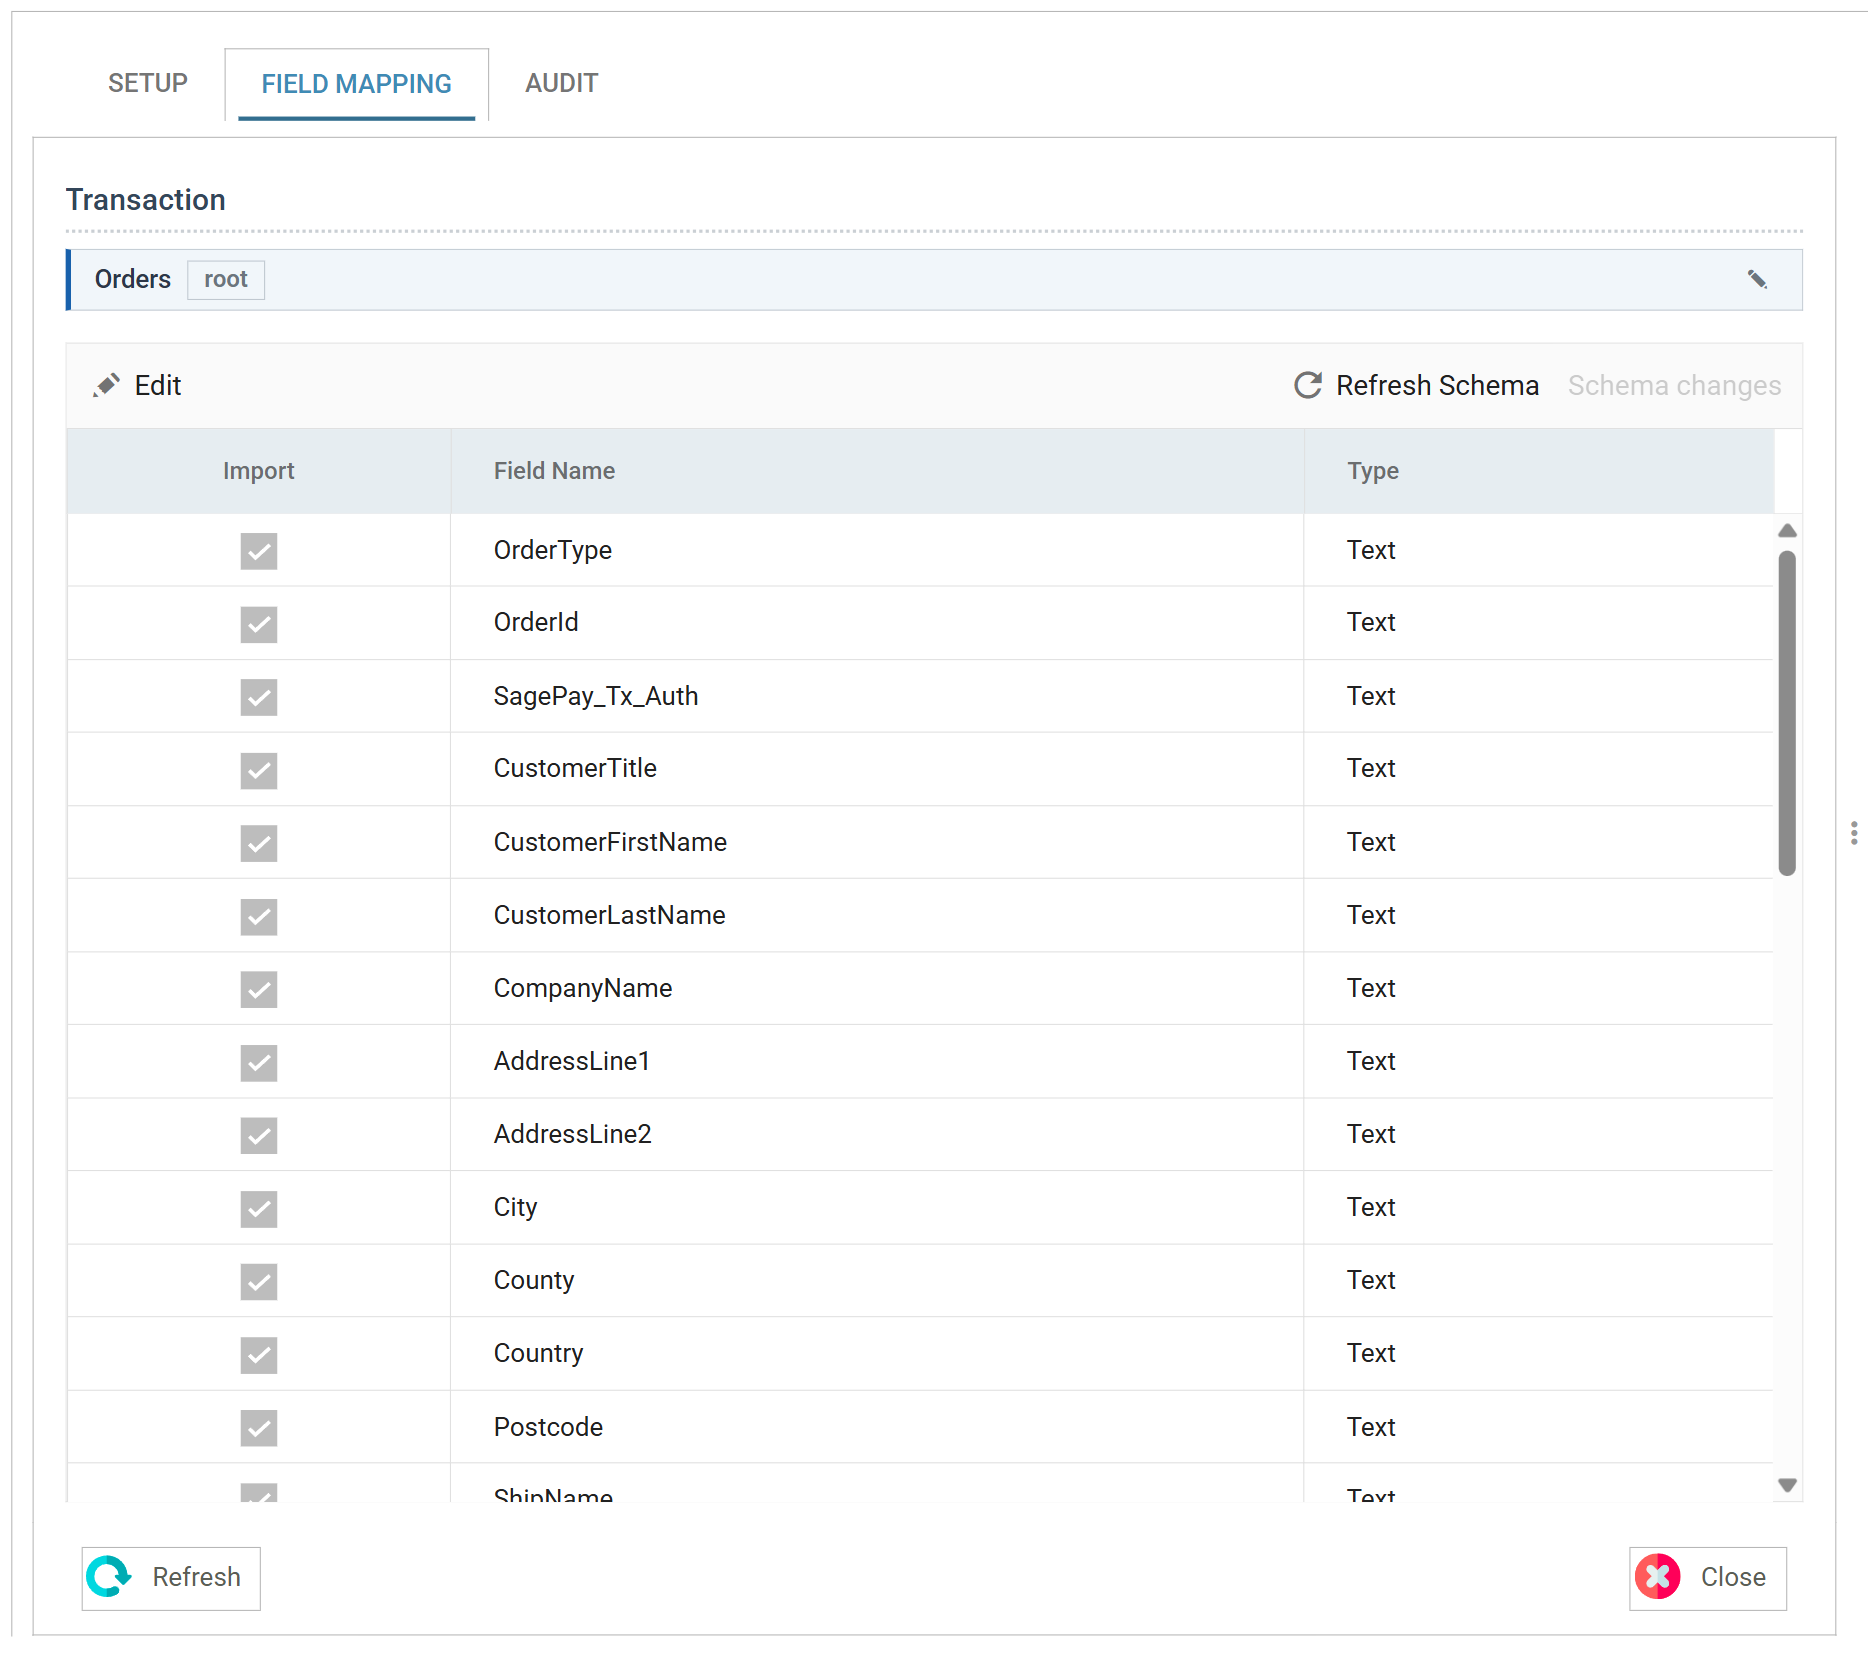
- The Transaction strip above the grid names the transaction this reader produces. A flat file produces a single transaction, named
-
Press the pencil beside the transaction, enter
Orders, and press the tick.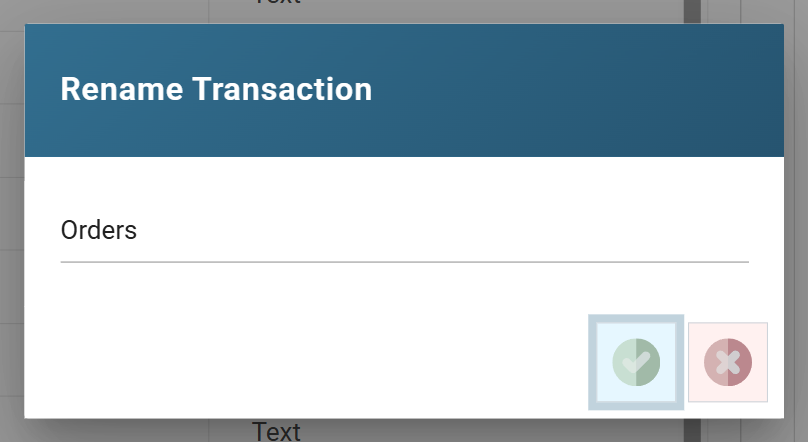
-
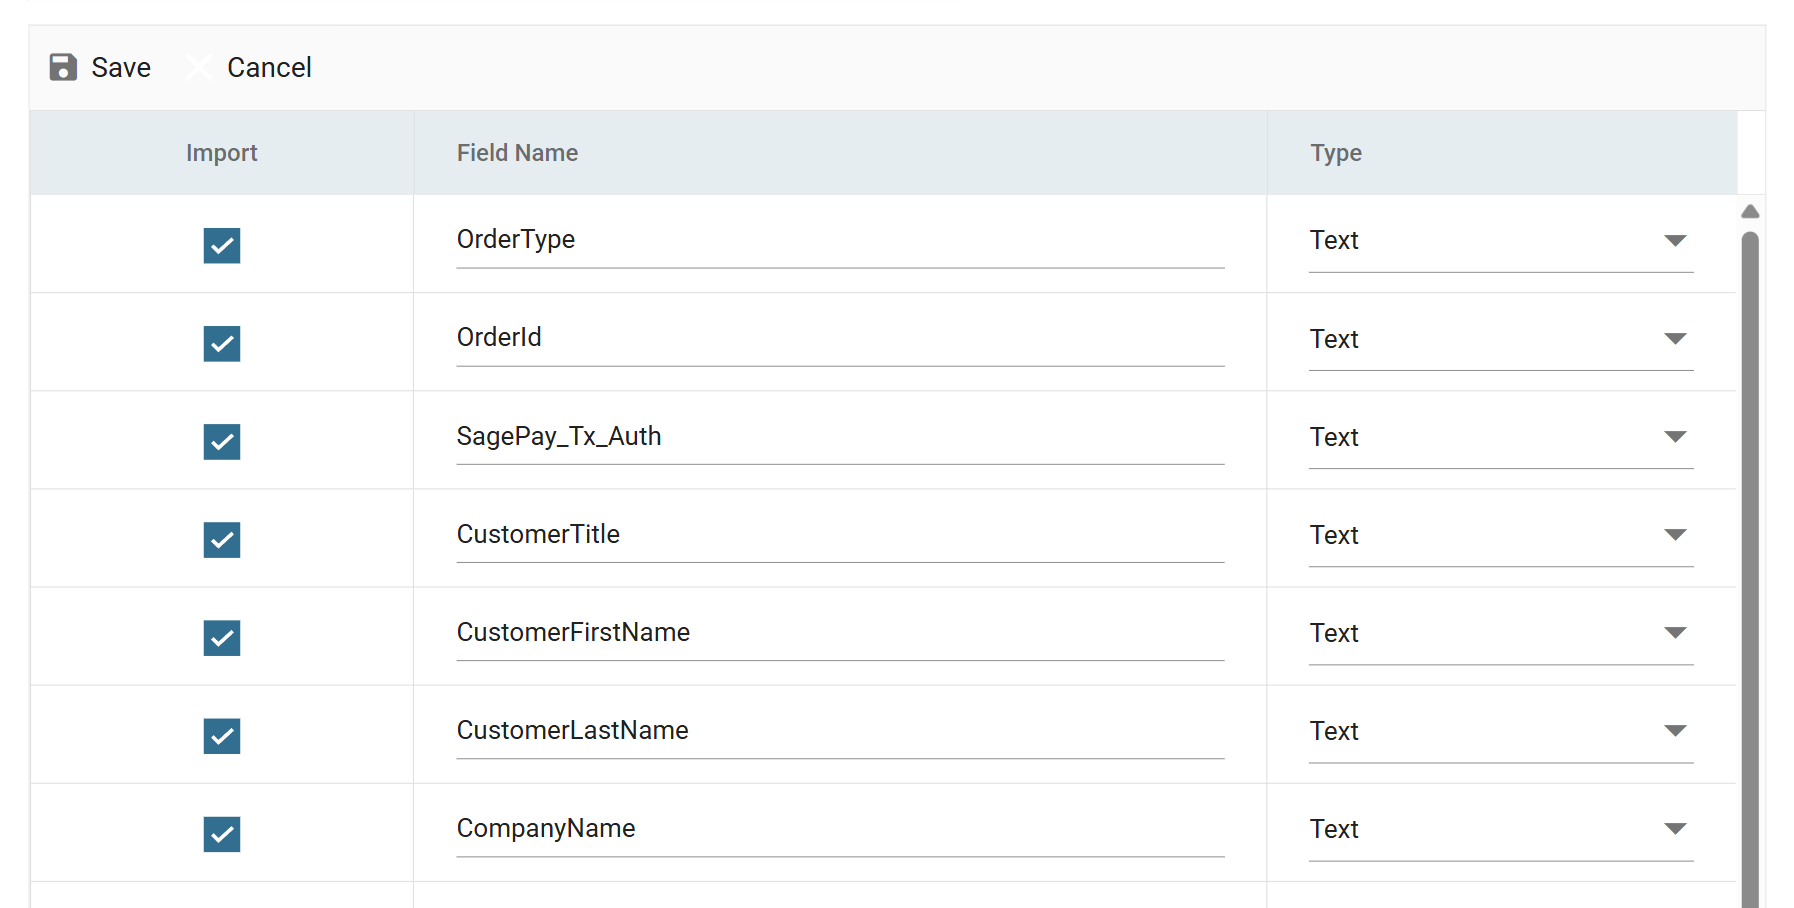
Press Edit above the grid.
- Every row becomes editable at once, and the toolbar changes to Save and Cancel.
-
Set the types of these fields:
Field Name Set Type AssemblyCharge Decimal TwoManDeliverySupplement Decimal Delivery Decimal SalesTotal Decimal LineNo Integer Qty Decimal UnitPrice Decimal -
Press Save above the grid to commit the changes.
- Press Close at the bottom of the transform, then Save the integration.