Step 1 – Create New Integration
-
Create an integration:
- Enter a unique value — the integration id — into the Integration Id box, then press the play button beside it.
- The button stays disabled until the box has a value. It is also disabled when the id you type is already in use.
- For training, enter:
DOCSTRAIN300
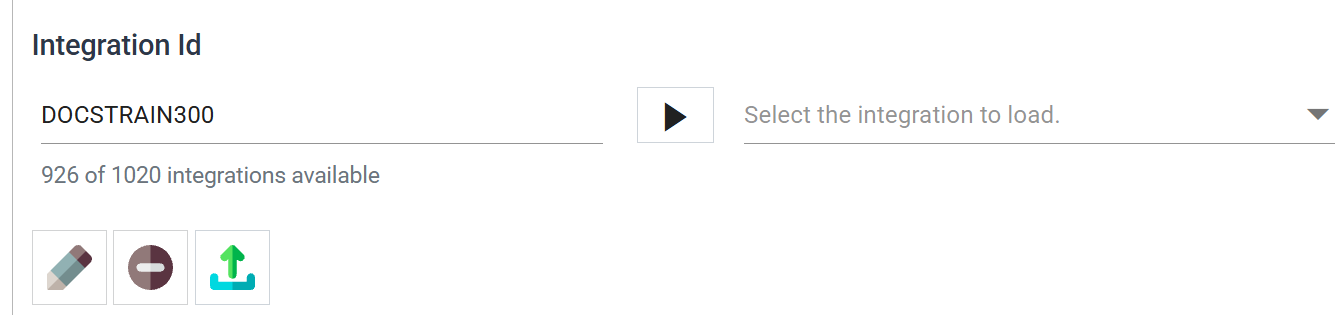
The drop-down on the right opens an existing integration. The three buttons beneath it show only icons; hover over one to see its name. Load Integration (the pencil) loads the integration selected in the drop-down, and stays disabled until you select one. Delete Integration deletes the loaded integration, and stays disabled until one is loaded. Upload Integration Configuration does not depend on either.
-
Enter a Description:
- The description identifies the integration when you schedule it. Make it recognisable.
- For training, enter: Sage 300 Training - Excel order and customer import
-
Leave the Comment blank.
-
Press Save.
- The drop-down then shows the integration id followed by its description. The panel below reports that you are editing it.
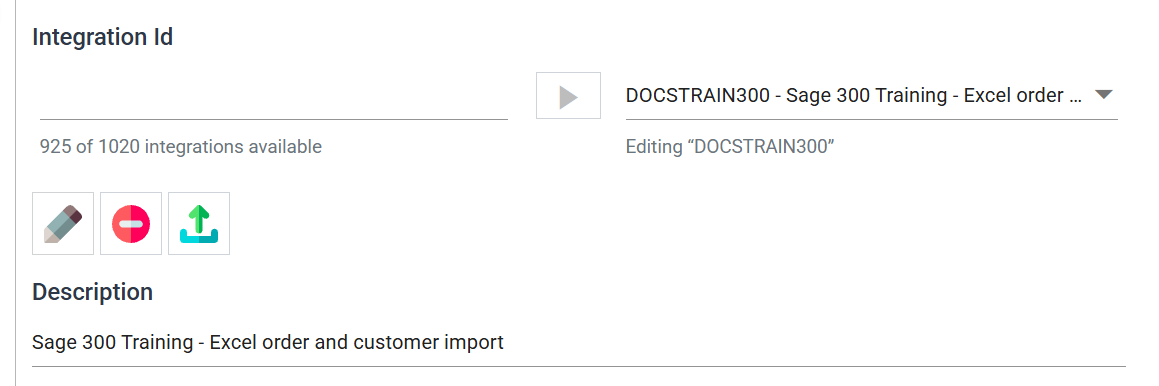
The Description is cut at 60 characters, without warning
The Description holds 60 characters. IMan cuts a longer one to 60 when you save it and does not warn you.
Where the job defaults are
Default Action on Transform Error and Action on Transform Failure are not on this screen. They are on the Audit tab, under Job Defaults. Leave both on Abort for almost every integration. Step 8 covers the Audit tab in full.