Azure App Configuration
Follow these steps to set up an app in Azure Active Directory. You need the app when an SMTP server sends mail through an Office 365 mailbox, or when a POP3 or IMAP server reads one.
The steps below outline the setup for a typical Office 365 subscription.
The steps may vary with the level of subscription and administrative privileges, and they do not cover Azure permissions in full.
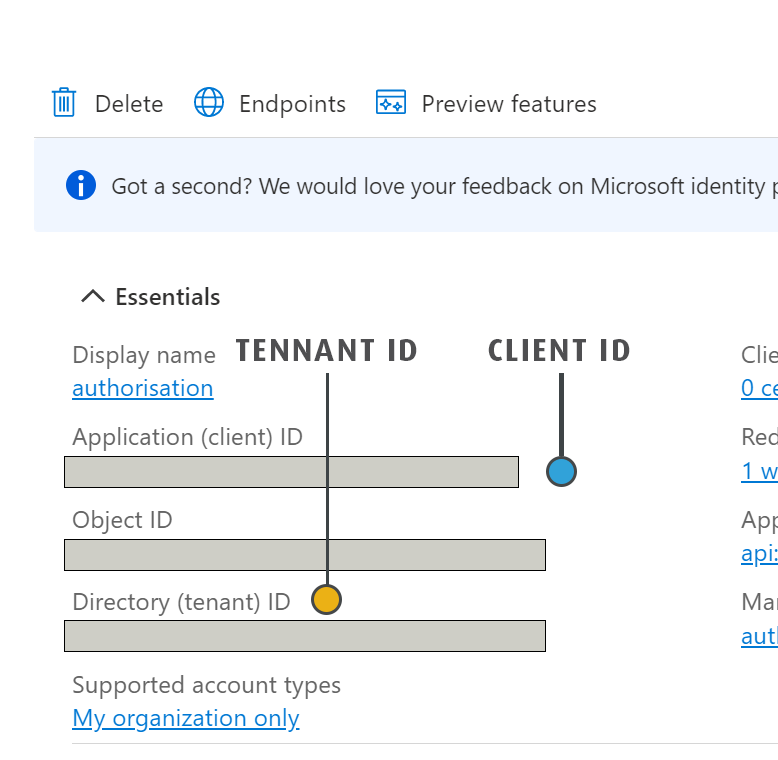
Once you have created the app, you will have noted three values: the Azure Tenant Id, the Azure Application (Client) Id and the Client Secret. You enter them when you set up an Office 365 SMTP server or an Office 365 POP3 server.
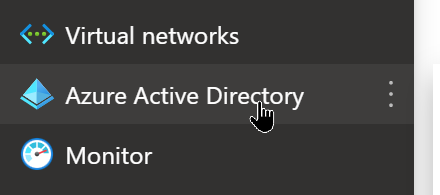
Azure Active Directory Login
- Sign in to Azure Active Directory as a user with admin rights, that is, rights to create an app in Azure Active Directory.
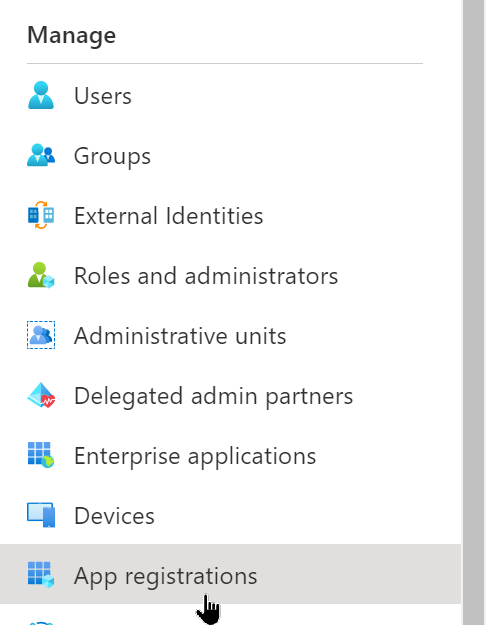
- Click App registrations.
Create An App Registration
- Click New registration at the top.
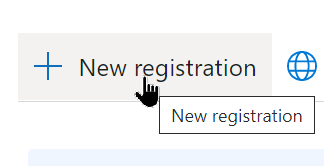 Enter a name for the app, such as Realisable IMan, and click Register. Azure opens the new app registration.
 - Click Authentication and add a new redirect URI,
https://authorisation.realisable.co.uk/OAuthCallback.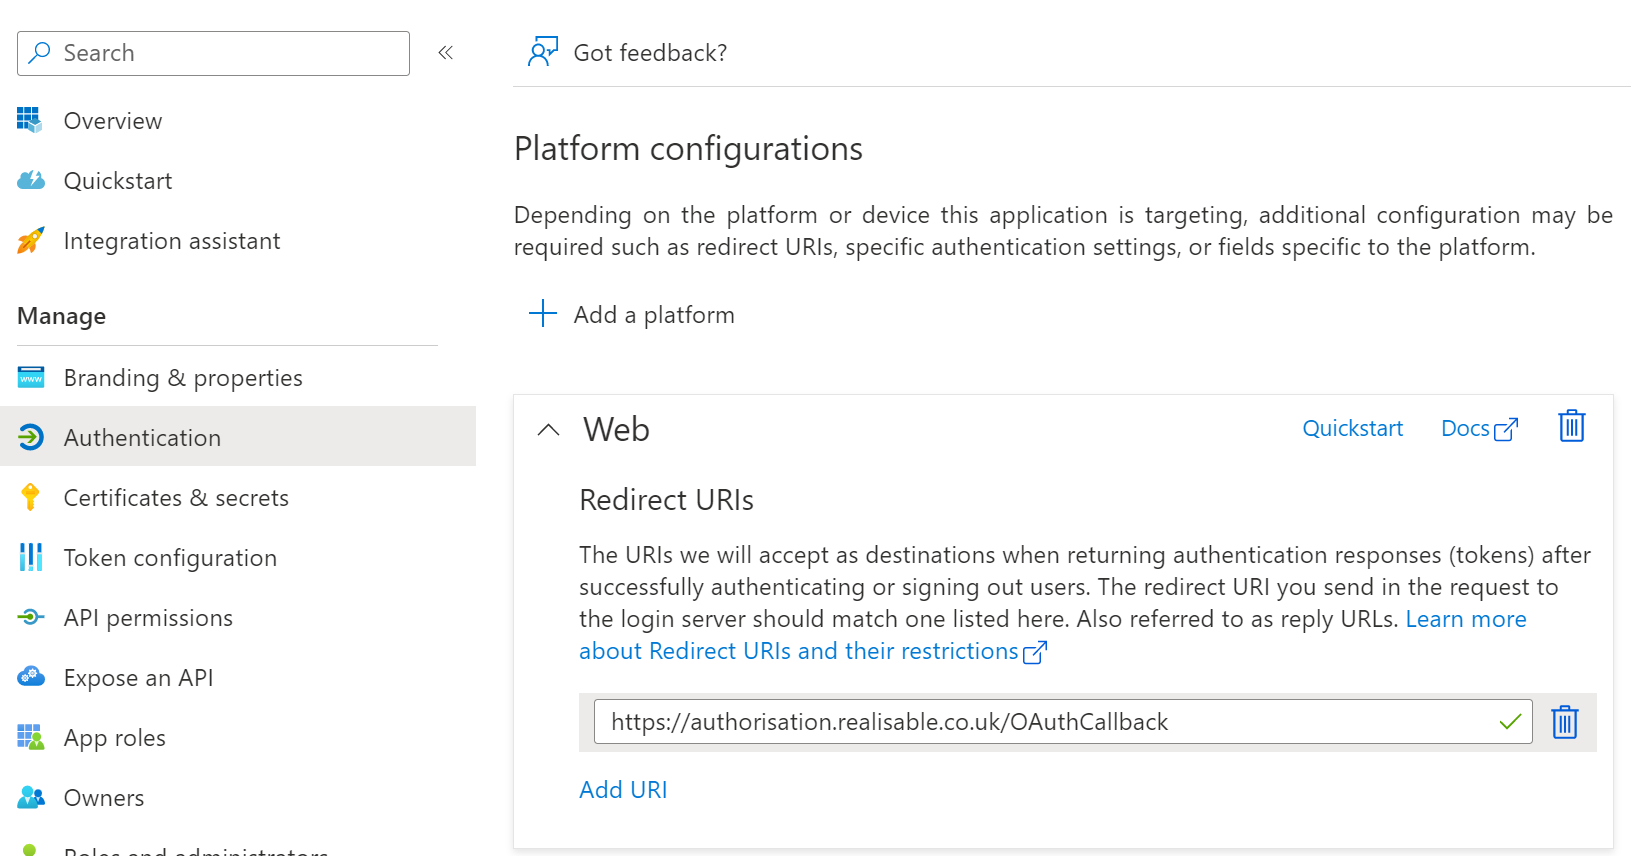 Then click Save.
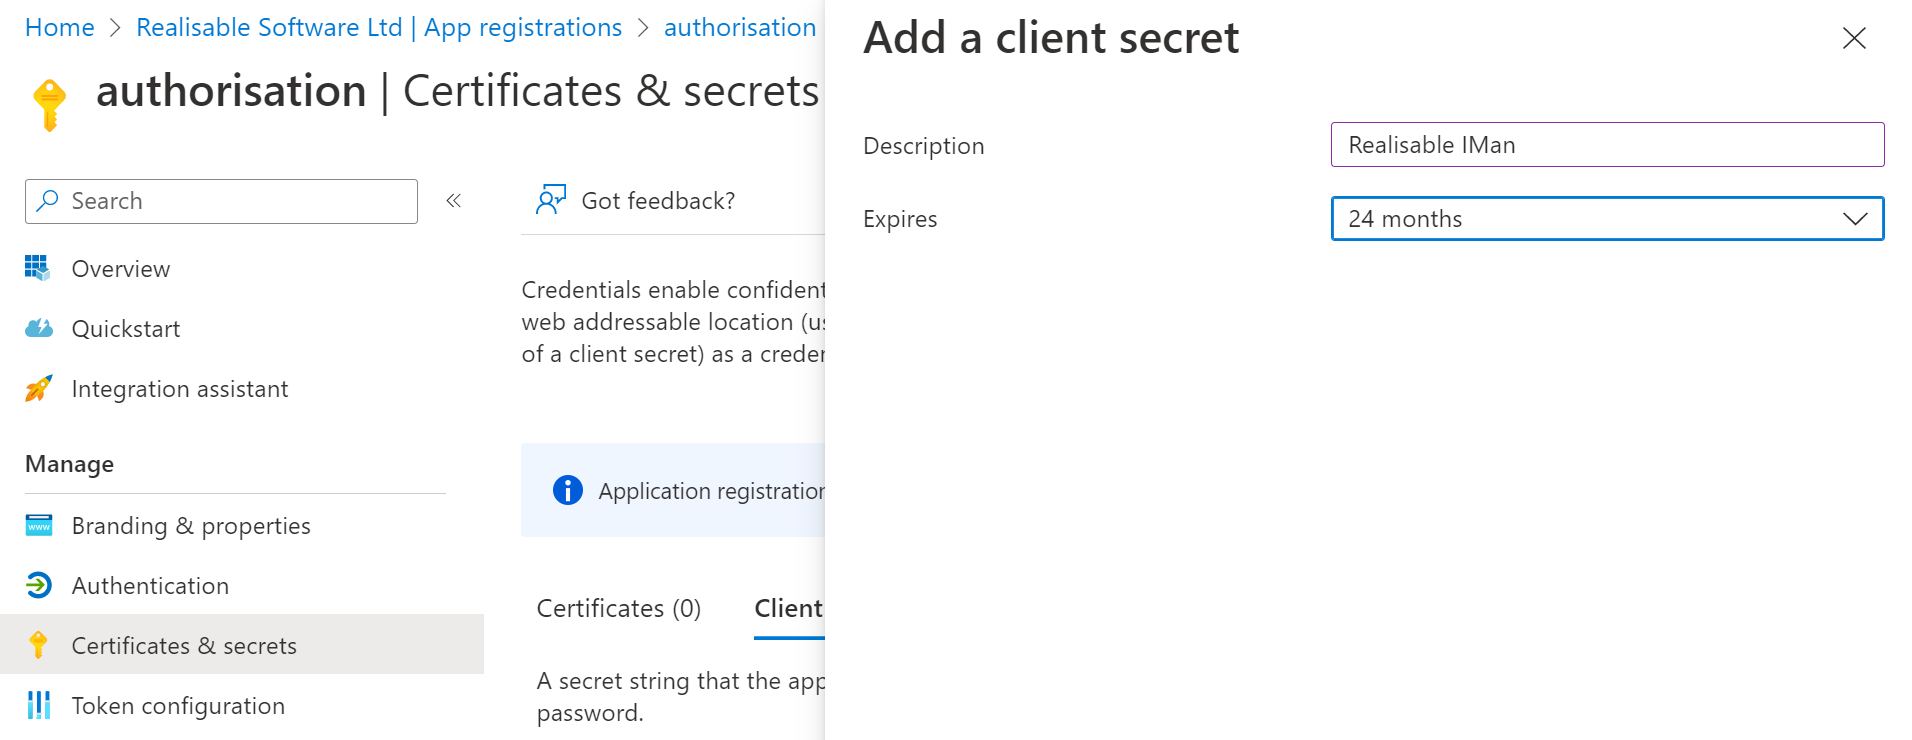
 - Click Certificates & secrets, then Client secrets, then New client secret.
- Enter a description and select an expiry, then click Add. With a short expiry, you will need to re-authenticate often.
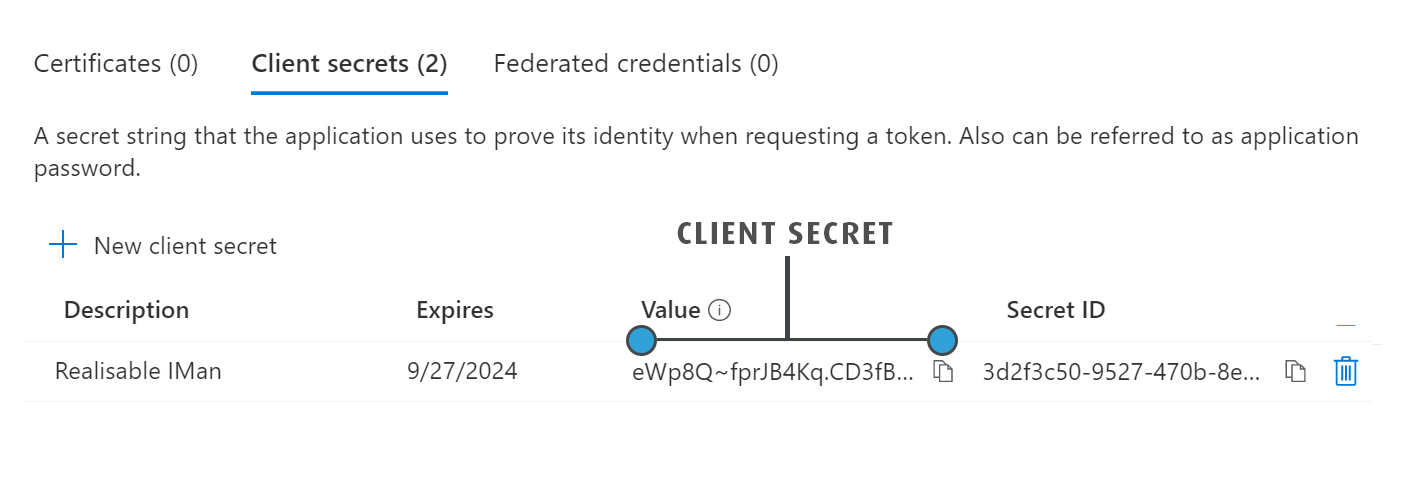
- Copy the client secret and keep a note of it. Azure shows it only once, and if you do not copy the value you will need to create a new secret.
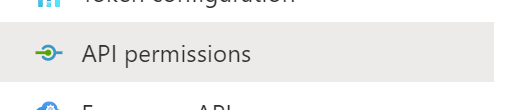
- Click API permissions.
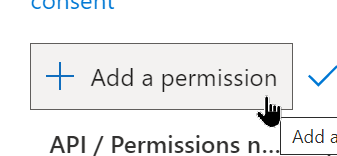
- Click Add a permission.
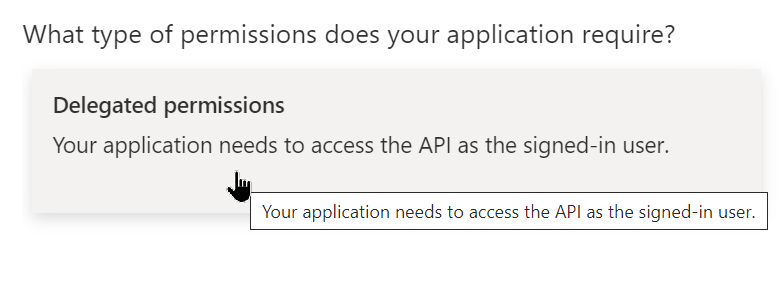
- Click Delegated permissions.
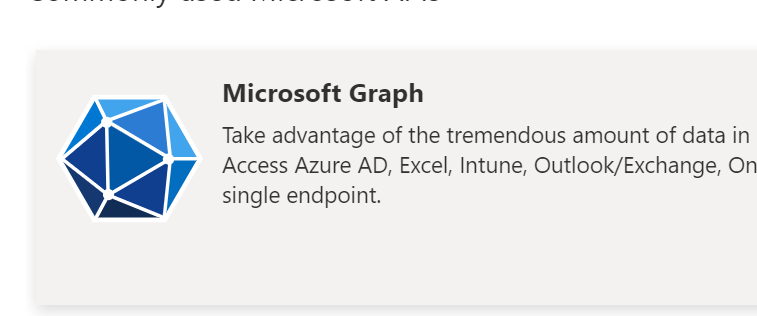
- Click Microsoft Graph.
- Search for
offline_accessand tick its check box.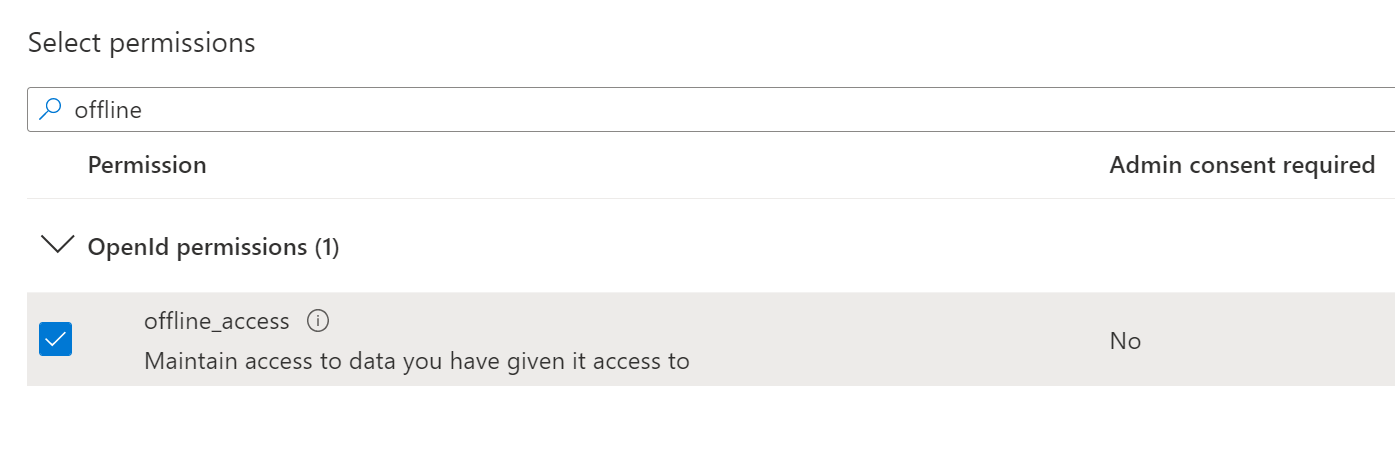
- Repeat the step above to add the following permissions.
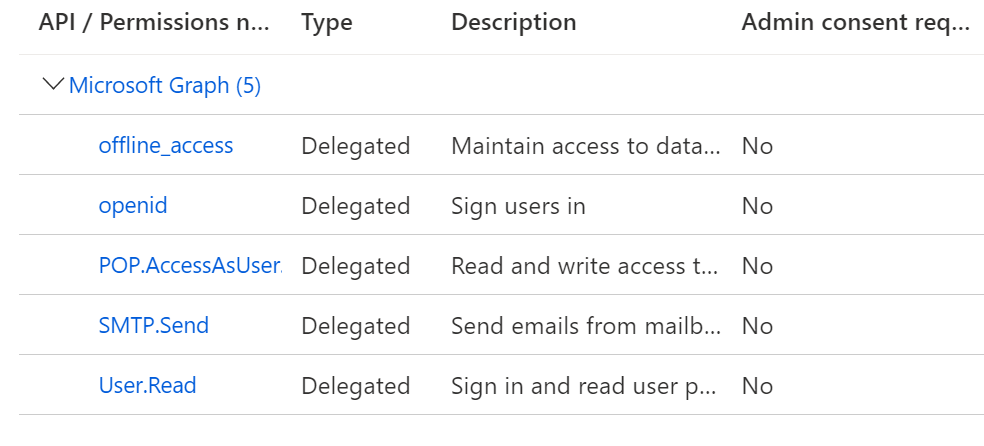
- openid
- User.Read
- SMTP.Send
- This allows users to send email.
- POP.AccessAsUser.All
- Required only when IMan needs access to a POP3 mailbox.
- IMAP.AccessAsUser.All
- Required only when IMan needs access to an IMAP mailbox.
- Click Overview.

- Note the Directory (tenant) ID and Application (client) ID values.