IMan Permissions Function
The Permissions function in the IMan Admin Console sets the permissions IMan needs, so you do not have to configure each one by hand as described in the previous section.
You can use it to set the required permissions for a specific user, or to restore IMan to its default settings.
Using the Permissions Function
- Open the Admin Console and press Permissions at the bottom. You must be a local Administrator to run it.
- Select Specific User and enter the username and password.
- For a local user, use the form:
- .\<userid> or <computername>\<user>
- For a domain user:
- <domain>\<user>
Important
The domain is case-sensitive. Enter it exactly as it is spelt.
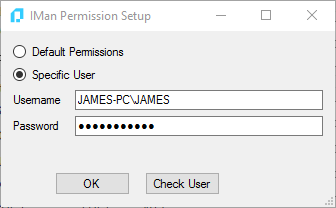
- Password
- IMan uses the password only while it sets the permissions, and does not save it anywhere.
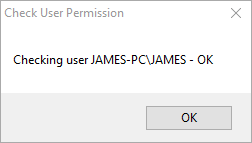
- Check User
- Checks that the user and password are valid.
- OK
- Starts the permissions change.
When every permission change succeeds, the results window lists each success, as shown below:
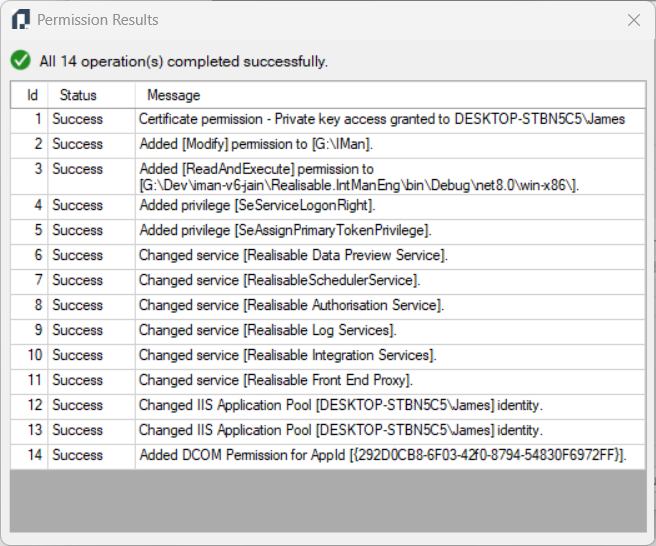
If a change raises an exception, IMan shows it in the log and tries to undo the changes.
Important
After any permission change, press Restart Services in the Admin Console. It restarts the IMan services and recycles the WebAPI application pool, and the changes then take effect.