IMan System Connector Setup
This page describes the System Connector for Concur (either Expense or Invoice) and steps required to authenticate IMan with Concur.
If you are using both Concur Expense and Concur Invoice you must repeat the below steps for each.
- Log into IMan
- Go to the Setup tab > System Connectors
- Either select the corresponding entry from the System Connector list or double click the empty row at the top of the grid to create a new connection to Concur.
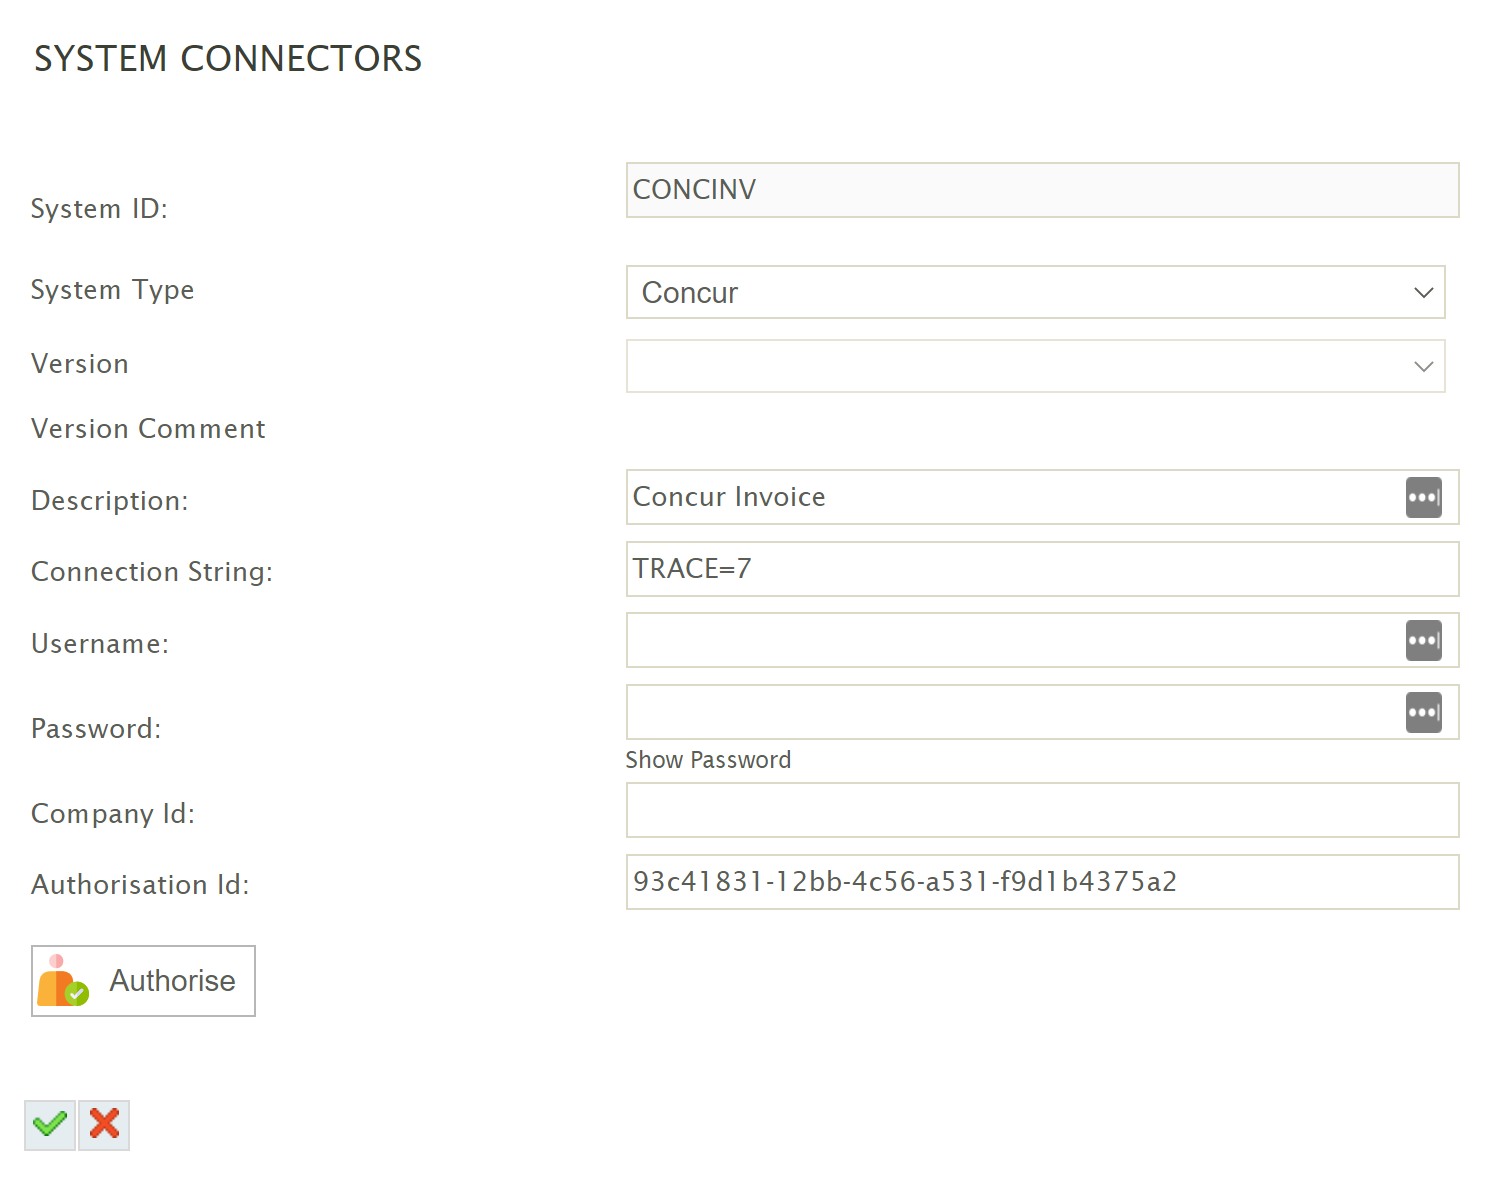
- System ID
- Can be any non-blank value.
- System Type
- Select Amazonfrom the drop down. If Amazon is not present in the drop down, try:
- Restarting the IMan IIS application pool.
- Check \IMan\Debug\CustomAddinLoadLog.log for any errors or messages.
- Select Amazonfrom the drop down. If Amazon is not present in the drop down, try:
- Description
- A description for the connection.
- Connection String - The System Connector connection string has a number of optional settings; each is semi colon delimited.
The resulting trace file will be written to: \IMan\Debug\Concur.txt- TRACE (Optional)
For debug purposes tracing can be enabled to write out the outgoing calls and responses made from IMan to Concur.- 7
To enable tracing.
- 7
- TRACE (Optional)
- Username
- Leave Empty
- Password
- Leave Empty
- Company Id
- Leave Empty
- Authorisation ID
- Enter the ID provided by Realisable.
- System ID
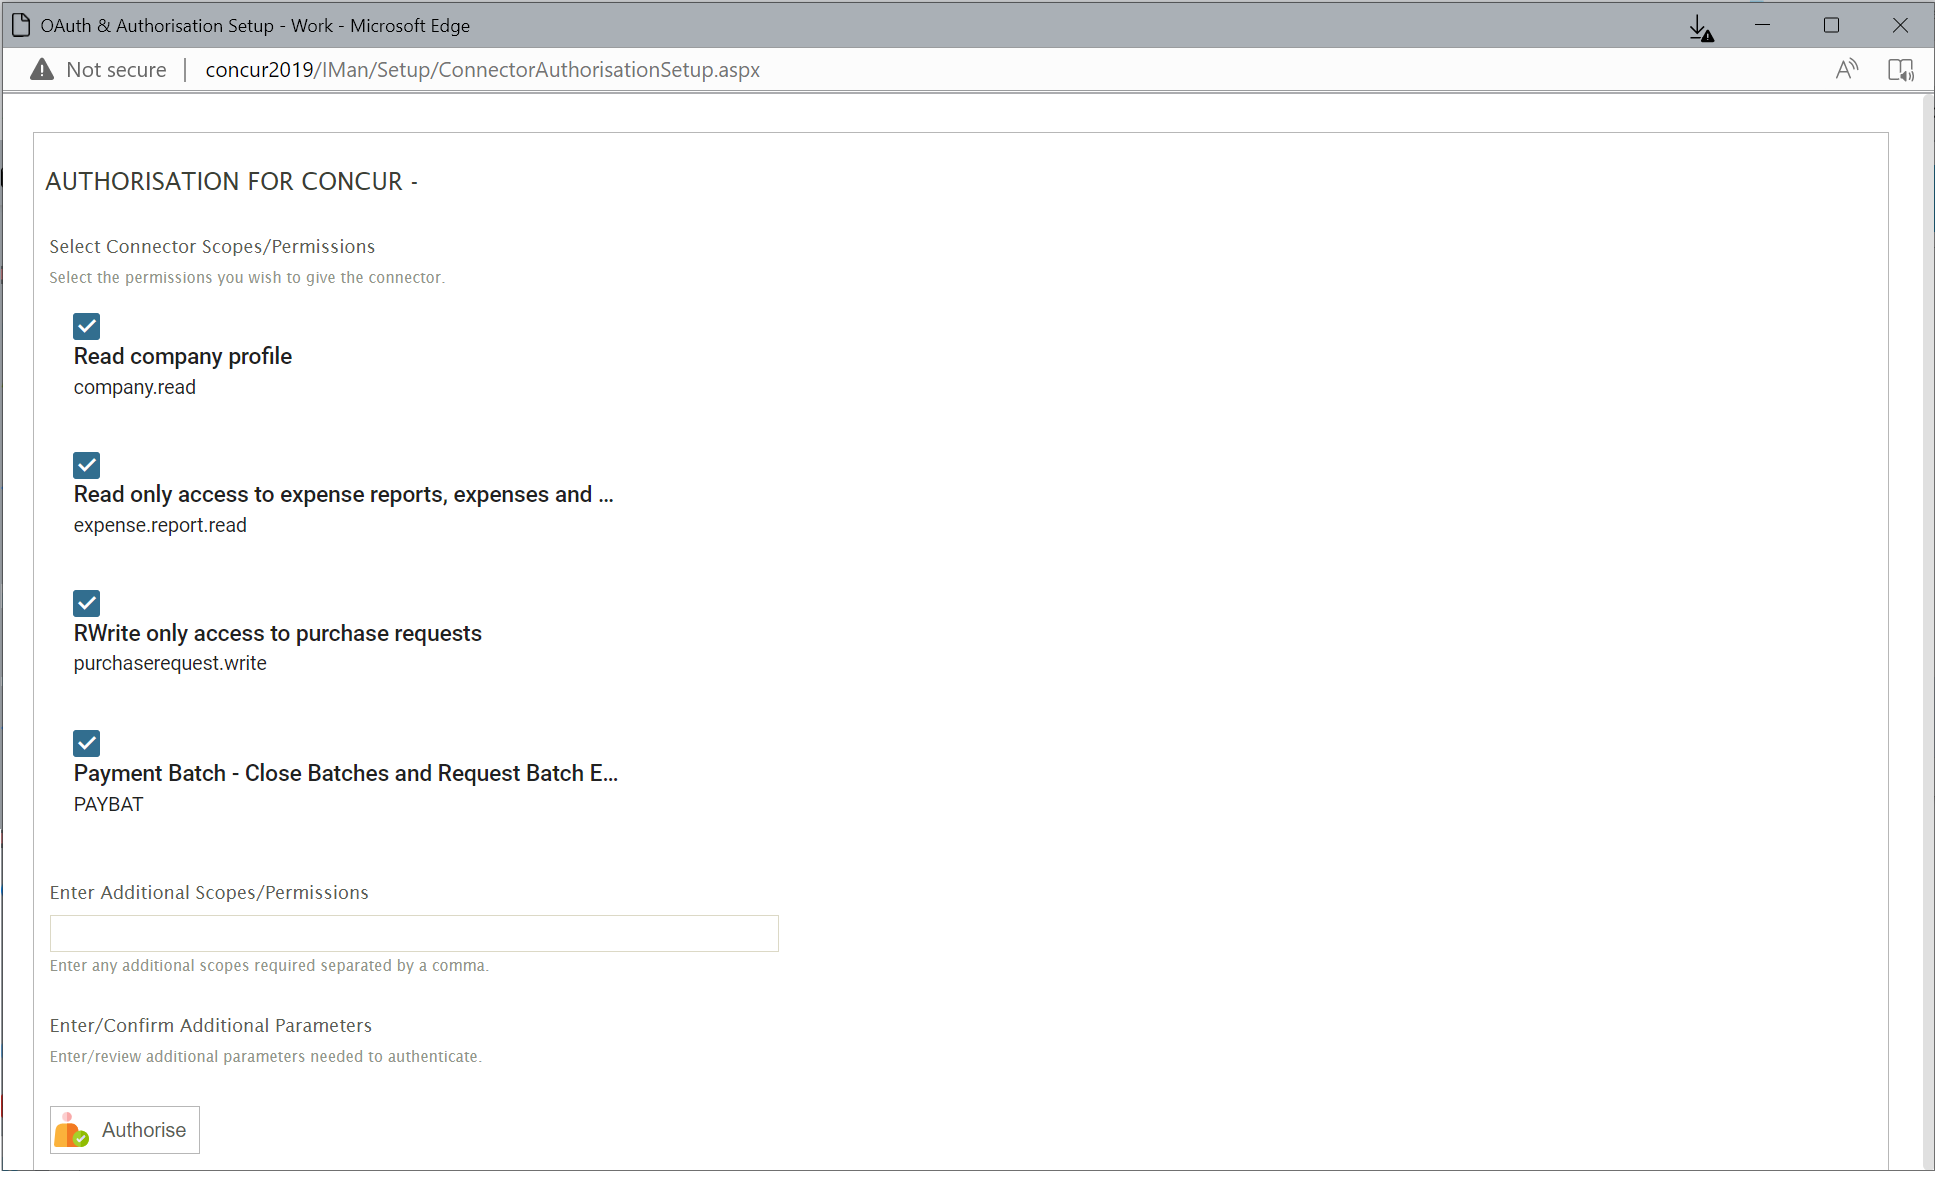
- Click the Authorise button to initate the authentication with Amazon.
- Another window will open, prompting to confirm the permissions needed to integrate with Concur. Press the Authorise button.
- After a short amount of time, you will be redirected back to the IMan where either a (successful) confirmation is shown.
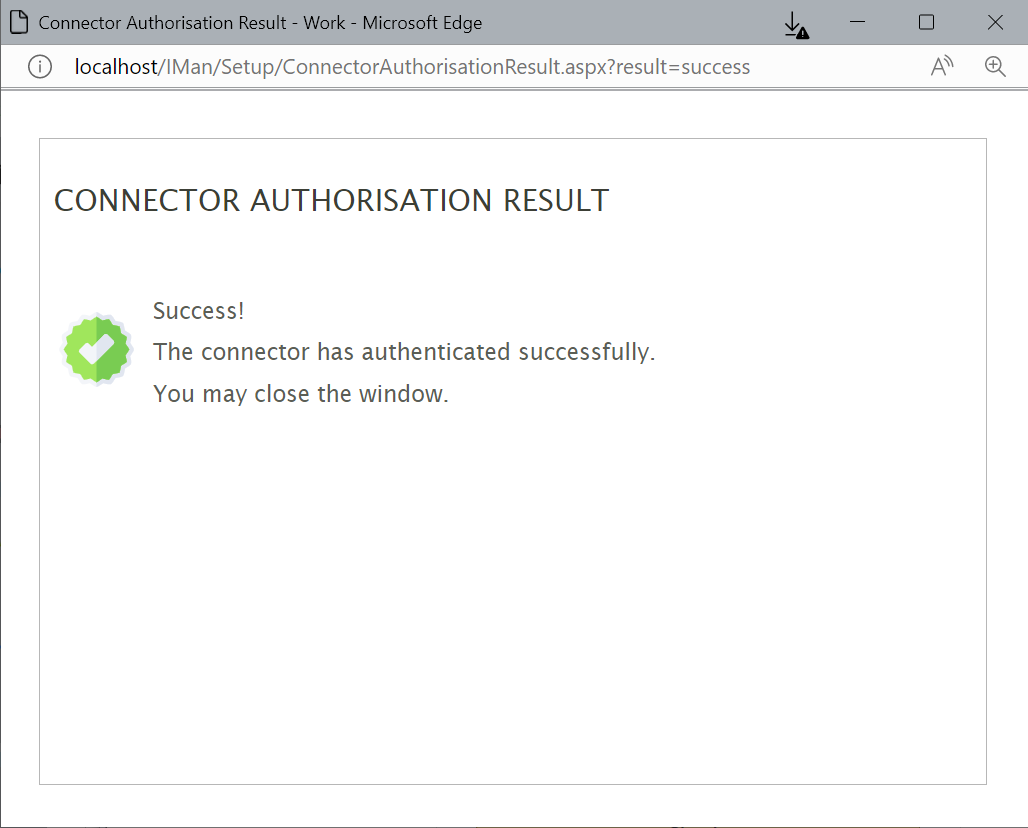
- Close the screen and press the Green tick on the System Connector page to save the entry.
- Login to Concur as an Administrator.
- Click the App Center menu item.

- Search for Realisable and click on either the Expense or Invoice connector, corresponding whether you are authenticating Concur Expense or Concur Invoicing.
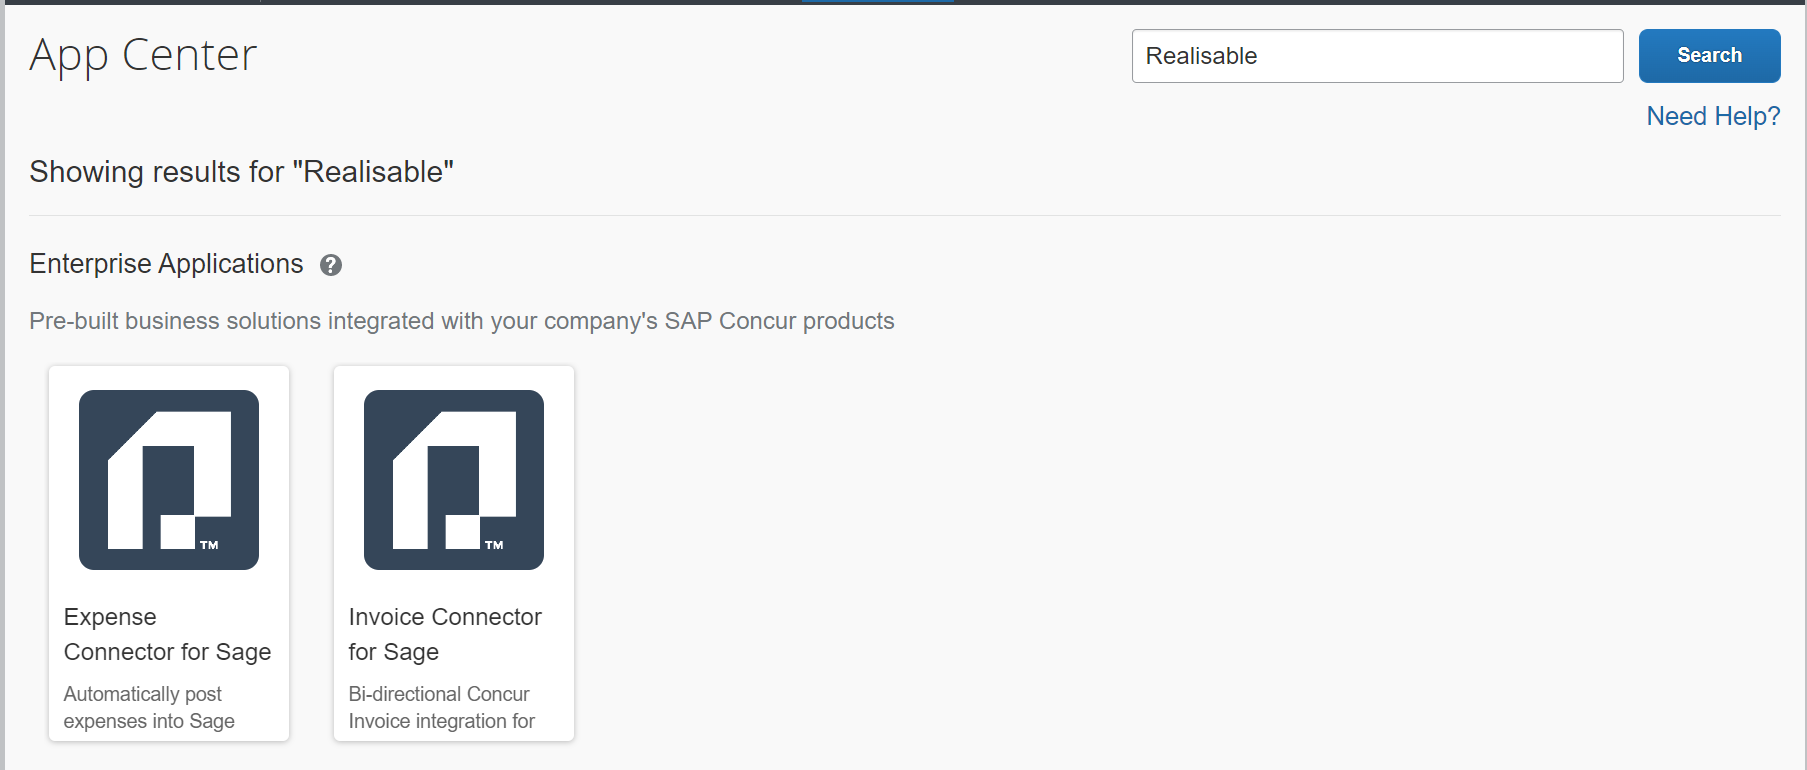
- Press Connect.
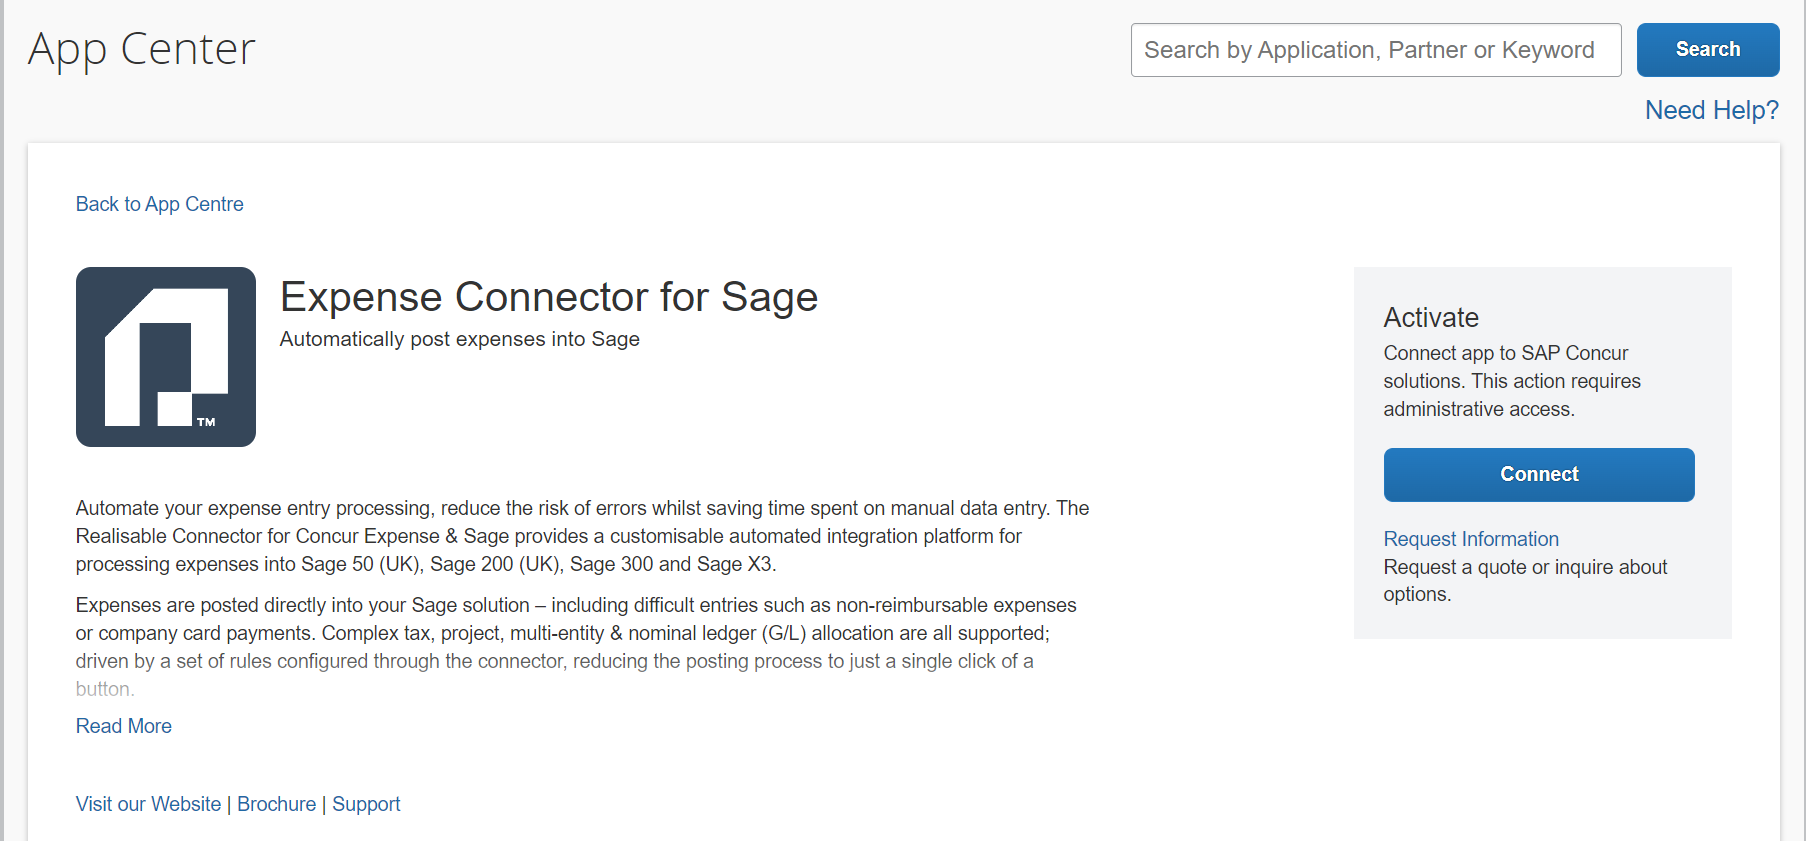
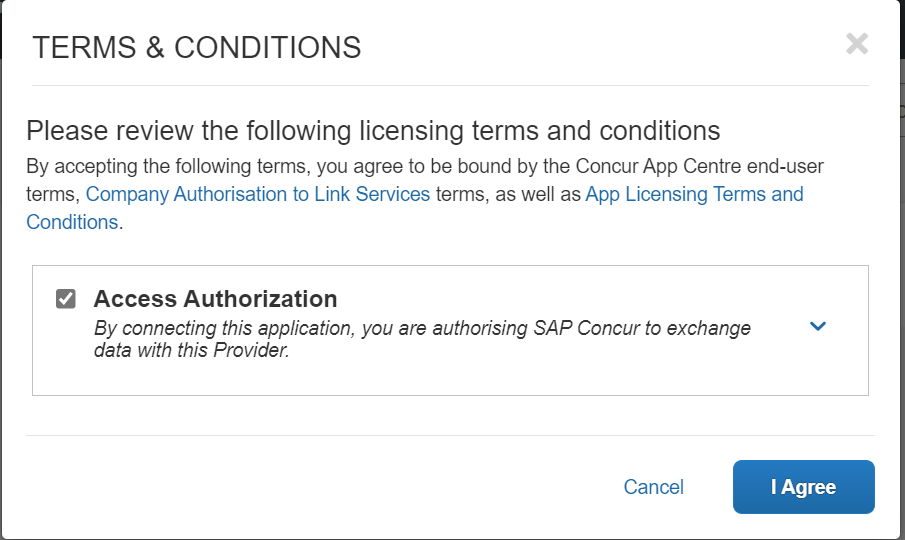
- When prompted agree to each of the terms.
- A popup window will be displayed. On this screen you need to select either Expense or Invoice from the Application drop and enter the ID provided by Realisable into the Contract ID field.
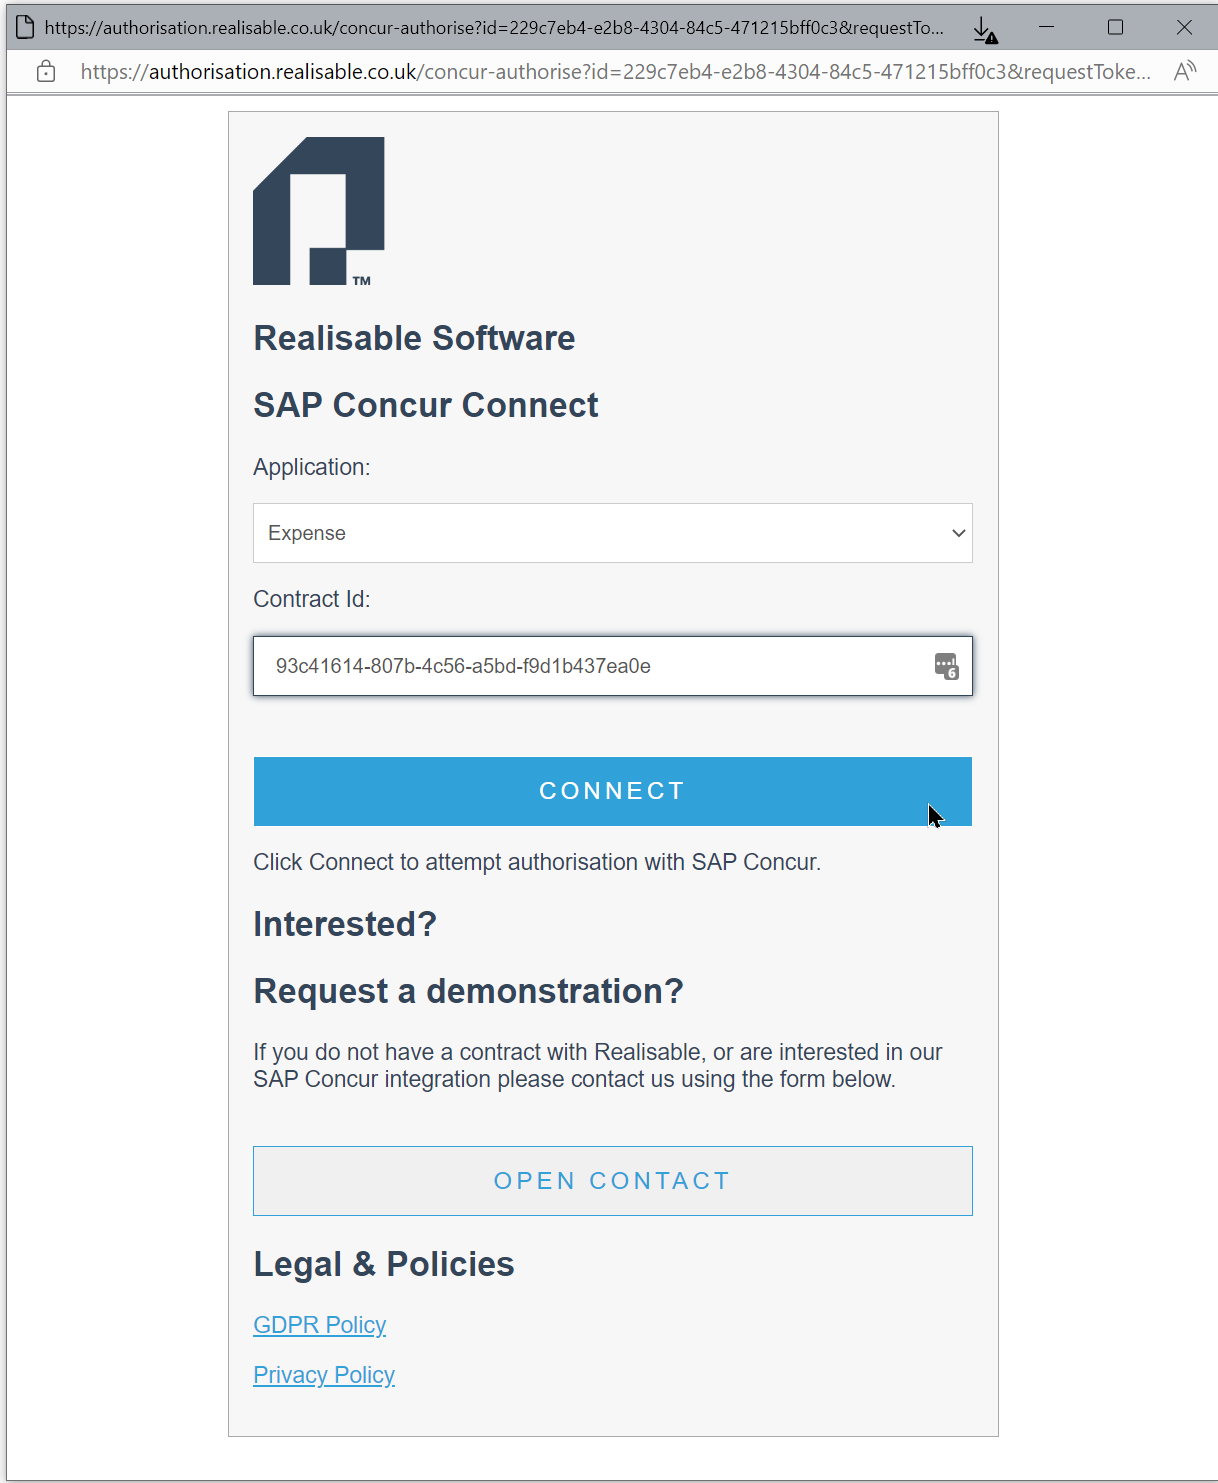
- Press Connect and in a moment the authentication will either succeed or fail.
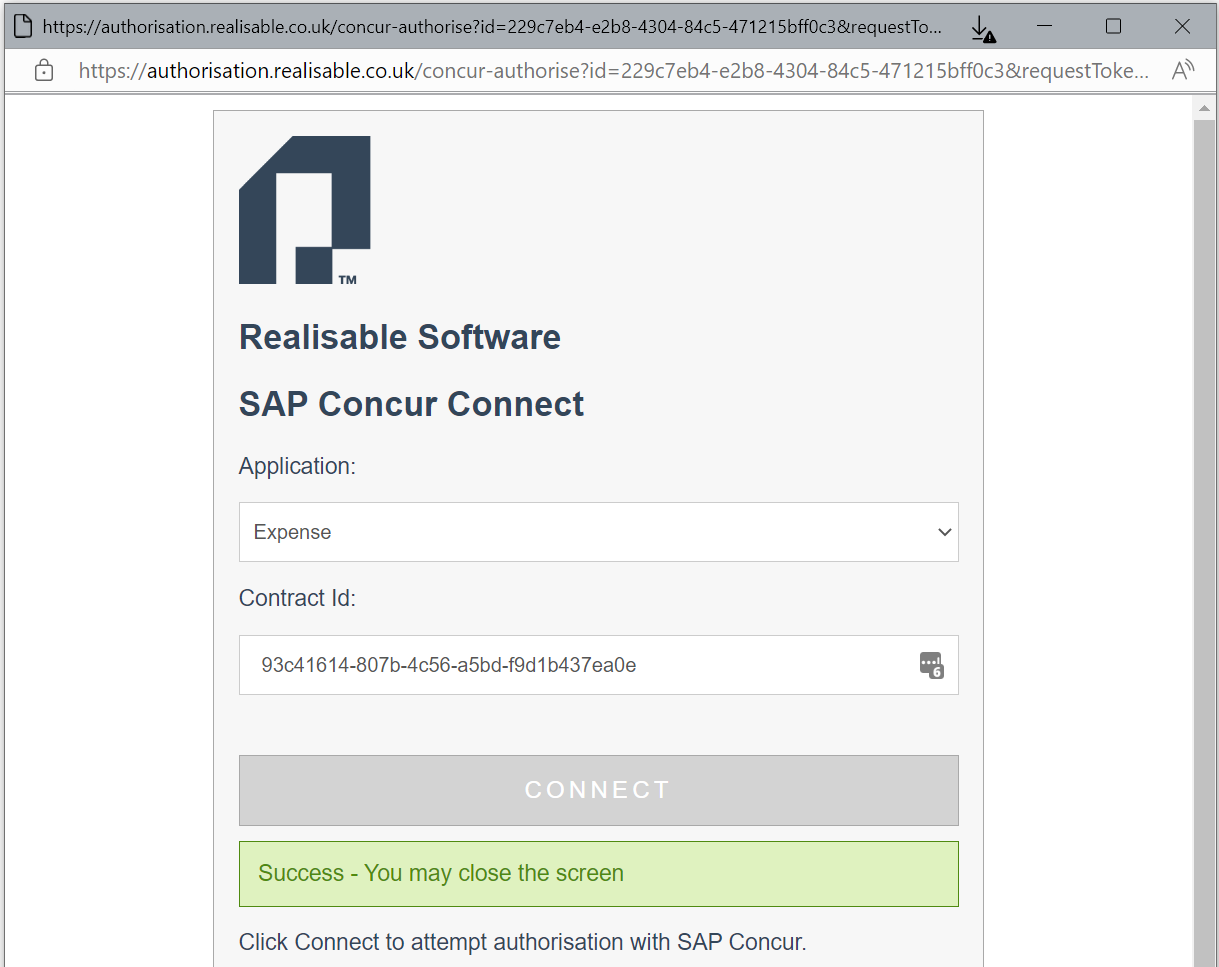
- Close the screen.