Appendix 2 – Exporting Transactional Data - Sage 200
Estimated time: 1 hr
In this example the user will export transactional data and use the Database Writer to flag the exported transactions preventing them from being re-exported.
Method
- Create Analysis Code in Sage200
- Set up a Database Reader
- Add the Map Transform
- Add the CSV Writer
- Add the Database Writer
Other Considerations
Create Analysis Code in Sage200
- Open Sage200 and create an Analysis Code ‘Exported’.
- Set two values Yes & No.
- Set the No value to be the Default.
![]()
- Open the Sales Order Processing Analysis Code setup.
- Add the Exported Analysis Code as shown:
![]()
This example will use Analysis Code 5. Your example may differ depending on your Analysis Code setup.
Set up a Database Reader
- Open IMan and create a new integration.
![]()
- Click the Transform Setup tab, add a Database Reader to the integration and double-click to open it.
- Select the Sage200 shared database connection that was setup in the previous task from the Database Connection drop down.
![]()
- Enter the following SQL Query. Replace AnalysisCode5 depending on your scenario.
- select SOPOrderReturnID, DocumentNo, CustomerDocumentNo, DocumentDate
from SOPOrderReturn
where AnalysisCode5 = 'No'
- select SOPOrderReturnID, DocumentNo, CustomerDocumentNo, DocumentDate
The SQL Query is very simple (for demonstration purposes only), the key to the query is to ensure the Primary Key of the record is exported with the data. even if it will not be exported to the target/destination. The primary key will be used to identify the transactions which need flagging.
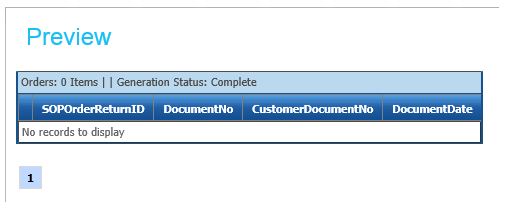
- Press Refresh.
- The query should return an empty result set; this is because there are no Orders with the Exported (AnalysisCode5) set to No.
- Create a Sales Order in Sage.
- Return to IMan and press Refresh:
![]()
- Click the Field Mapping tab, change the Transaction Id to Orders.
- Press Save, then Refresh.
![]()
- Press Apply to save and close.
Add the Map Transform
- Add a Map transform to the integration.
- Double click to open it (and to initialise the transform setup), and then Close immediately.
- We will come back to this transform shortly.
![]()
Add the CSV Writer
- Add a CSV Write transform to the integration and connect it to the Map Transform.
- Double click to open it.
![]()
- Expand the File Options and set the File Path and File Name accordingly.
![]()
- Set the Field Delimiter to a single comma (,) and check both the Quote String Fields and Write Header Rows checkboxes.
![]()
- Press Refresh and open the file pointed by the File Path and File Name properties.
![]()
- Return to IMan and re-open the Map transform created earlier.
- Double click the empty row at the top of the grid to create a new field:
- Name
- AnalysisCode5 (change accordingly)
- AnalysisCode5 (change accordingly)
- Enable Script Evaluation
- Uncheck
- Uncheck
- Formula
- Yes
- Yes
![]()
- Press the green tick to save and then press Refresh.
![]()
The AnalysisCode5 field will not be exported to the CSV file by default. To export it, it must be flagged to export in the CSV Writer.
Add the Database Writer
- Add a DB Writer and connect it to the CSV Writer and double click to open.
![]()
- Select the Sage200 Connection from the Database Connections drop down.
![]()
Change the SQL Operation from Insert to Update.
- Click the Field Mapping tab.
- Set the Map To Table to SOPOrderReturn.
- This is the table in the Sage200 database that IMan will update.
- This is the table in the Sage200 database that IMan will update.
![]()
- Where Clause:
- SOPOrderReturnID = %SOPOrderReturnID
- For each record in the dataset the %SOPOrderReturnID will be substituted with the value of the SOPOrderReturnID in the dataset. The effect will be to update only the records included in the dataset as the SOPOrderReturnID field is the primary key for the SOPOrderReturn table.
- SOPOrderReturnID = %SOPOrderReturnID
- Edit the grid and deselect each field except for AnalysisCode5.
![]()
- This will have the effect of only updating the AnalysisCode5 field setting its value to Yes.
- Save by pressing the green tick at the bottom of the grid.
- Press Refresh.
The SQL user (as per the connection string) will require db_datawriter rights to perform the update otherwise an error will be generated.
![]()
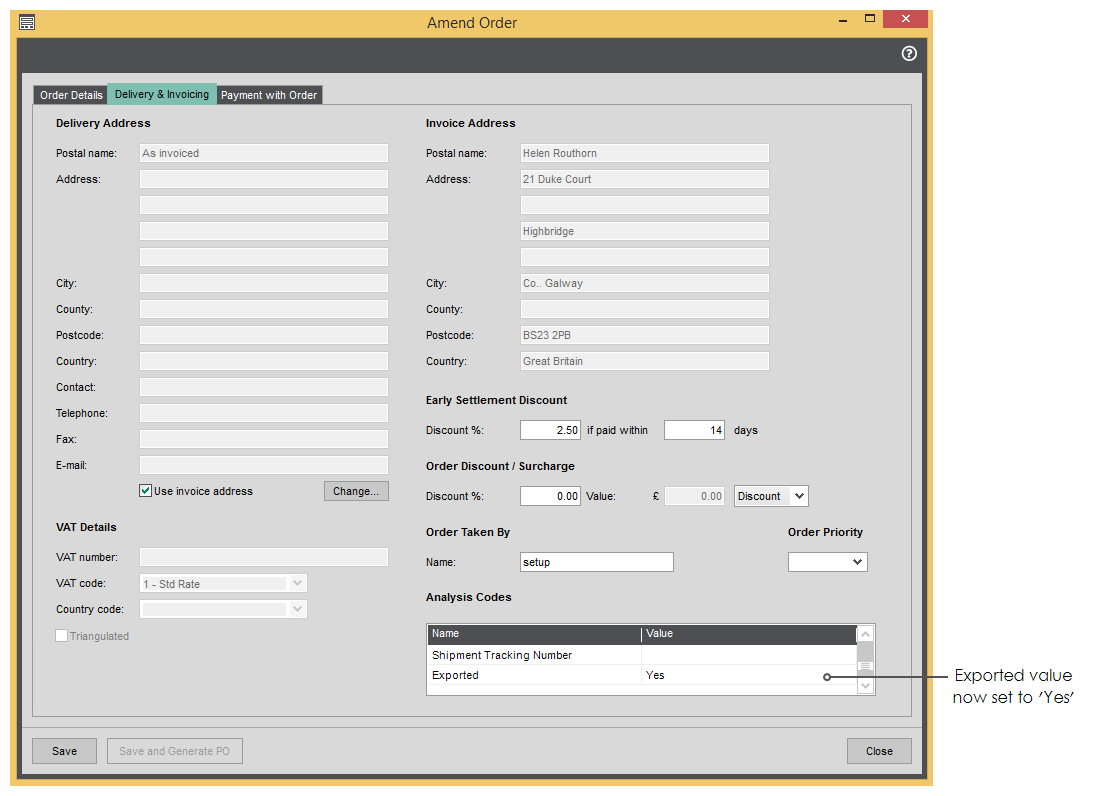
- Return to Sage and amend/view the order.
- The ‘Exported’ Analysis Code will be set to Yes.
- Return to the DB Reader and press Refresh and there should be an empty dataset.
Data Integrity Considerations
Please note we only recommend this method of updating data in the narrowest of scenarios. In this instance we are only changing a single Analysis code value.
We recommend you use the IMan Sage200 connector to update Orders if the update requires anything that could affect the data integrity of the Sage200 database.
Take-on Considerations
All Sales Orders prior to setting up the AnalysisCode will the relevant Analysis Code in the Sage200 database set to an empty value. You may need to update these existing records setting to either Yes or No for the initial takeon/processing depending on your scenario.