SOP Invoice & Consolidated Billing
Sage200 SOP Invoice & Consolidated Billing (SAMS200CONSPRNT)
This integration demonstrates how IMan can be used to not only generate SOP Orders but to also create SOP Despatches and to Print & Post SOP Invoices.
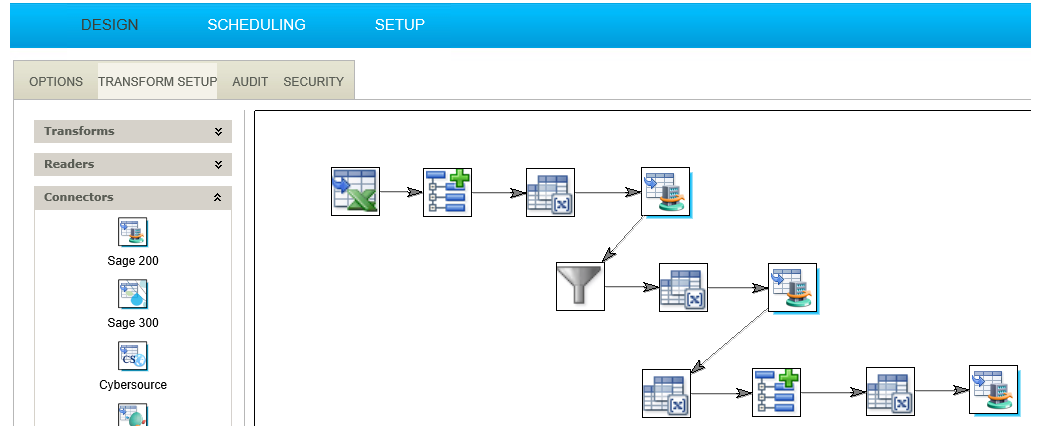
The flow of the integration:
- Read
- Hierarchy
- Map
- SOP Order Connector
- PreDespatch Map
- SOP Despatch Connector
- PreInvoice Map
- Hierarchy
- Consolidate Inv Map
- Invoice Print Post
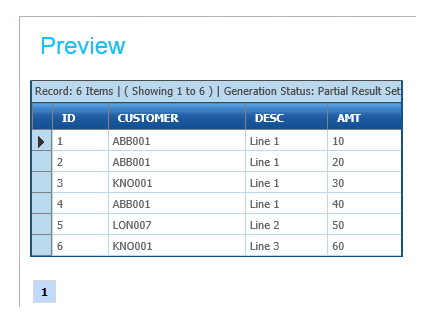
Read Transform
The Read transform extracts data from an Excel sheet. It is worth noting the data is extremely simple consisting of the bare minimum fields.
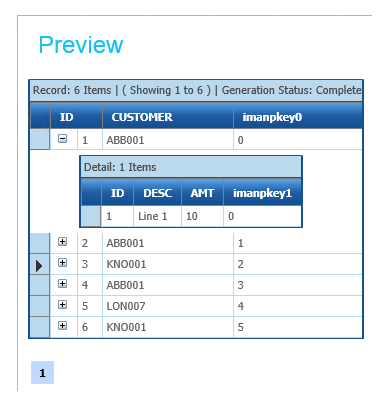
Hierarchy Transform
Transform the flat data set into a hierarchical one consisting of a header and details which can be accepted into Sage200.
Map Transform
The Map Transform adds a number of fields to the data set in readiness for it to be imported into Sage:
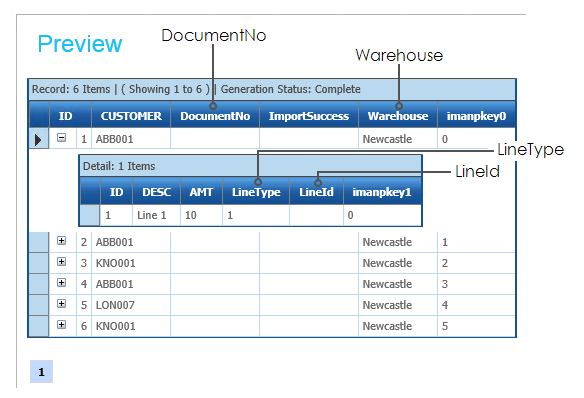
- DocumentNo
- Added to the header record to allow the Sage generated order number to be captured and reported.
- LineType
- Set to 1 to specify that Free Text lines will be generated.
- LineId
- Set to an empty value allowing the Sage LineId to be captured and used in the subsequent Despatch step.
- Warehouse
- Specifies the default warehouse.
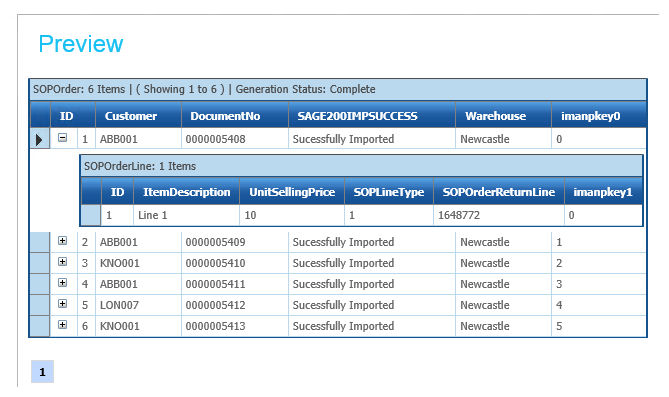
Sage200 SOP Order Connector
In this step we simply map the fields onto Sage to create the SOP Sales Order. If the orders can be successfully imported both the DocumentNo and LineId fields will be populated.
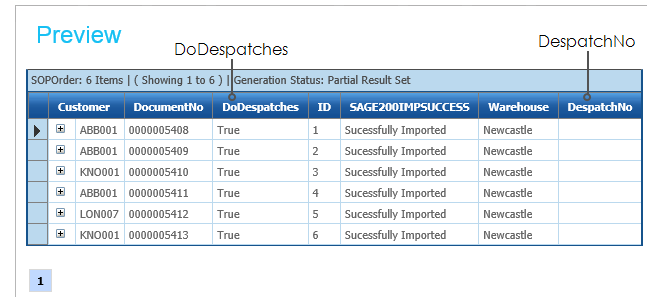
Pre-Despatch Map Transform
In this step additional fields are added to the data set to allow the dispatch document to be created in Sage, and let us know that it has succeeded.
The DoDespatches field is added and the field’s value is set to True. This field will be set to the ‘Do Despatches’ field in the next step, and indicates that a Despatch is to be created as opposed to a Return.
The DespatchNo field is added and left blank for now. In the next Sage200 connector this field will be mapped to the Despatch Receipt Number
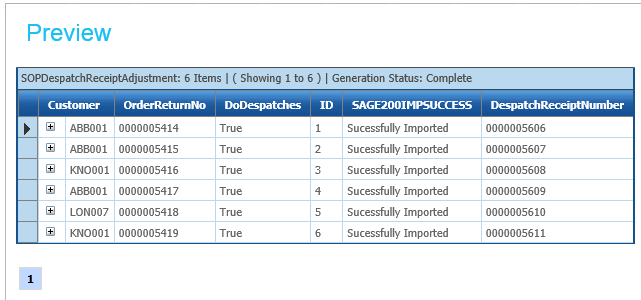
Sage200 SOP Despatch Connector
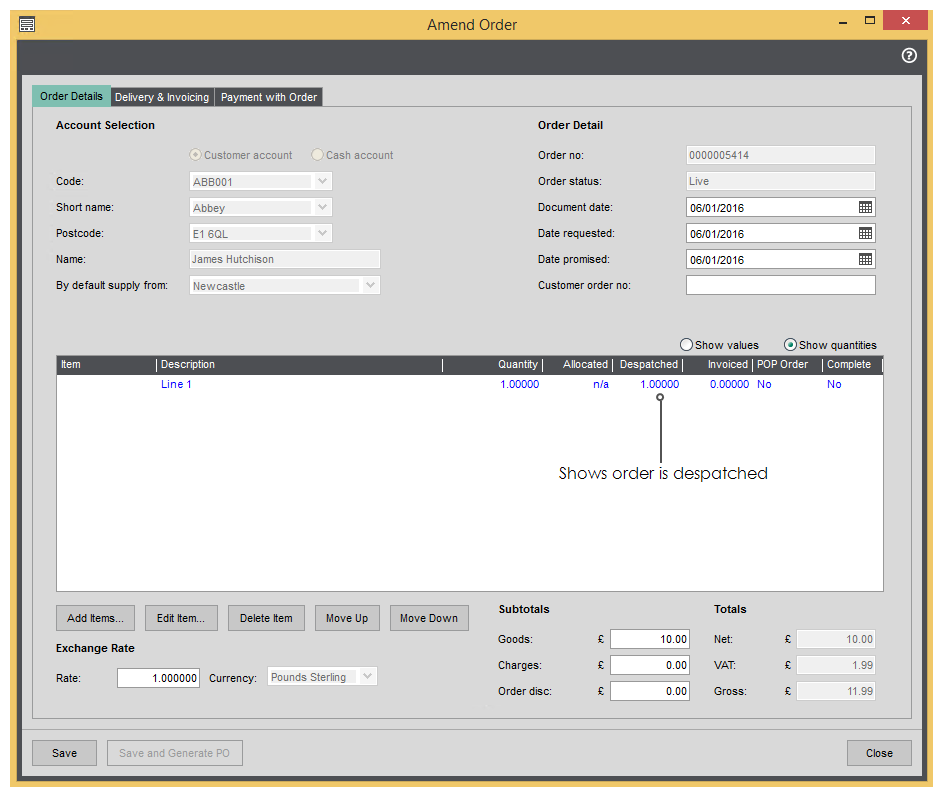
This step creates a despatch document from the Order. To create a Despatch against the order the DocumentNo field is mapped to the Order Return No as shown below.
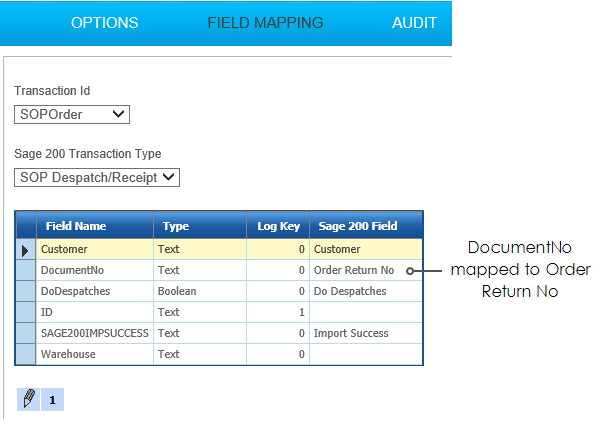
- When Refresh is pressed, successful Despatch Receipt Numbers will be displayed.
This order will only despatch once. After that, IMan will return an error!
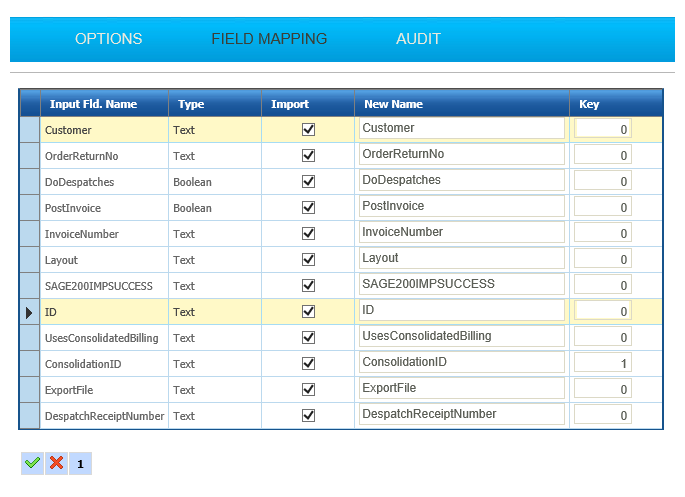
PreInvoice Map
This step adds the fields necessary to print & post the SOP Invoice:
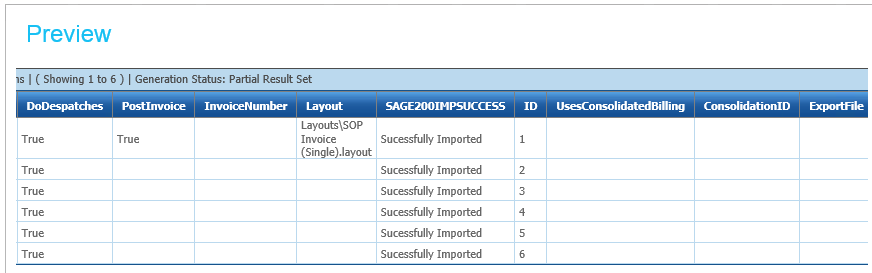
- PostInvoice
- Set to True will post the invoice to Sales Ledger.
- InvoiceNumber
- Will allow the auto-generated Invoice Number to reported on the Audit report.
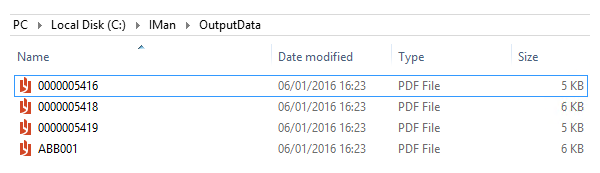
- ExportFile
- This field generates file path for the exported invoice.
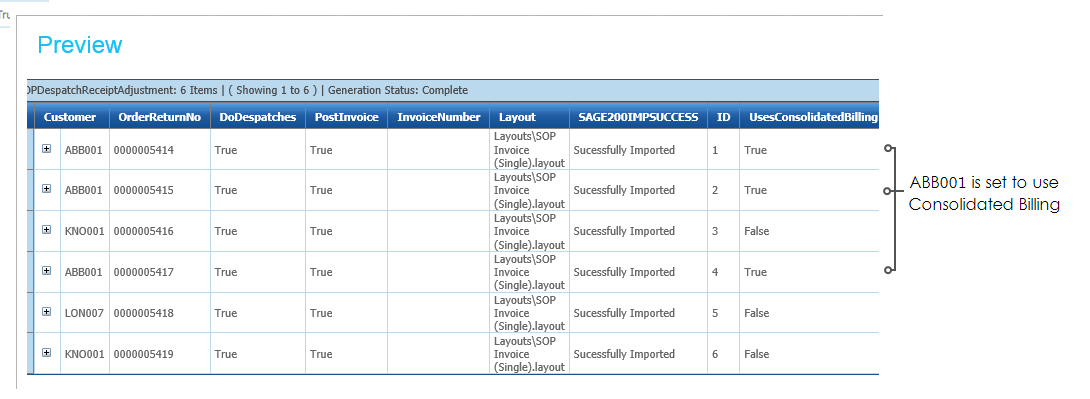
- UsesConsolidatedBilling
- Performs a lookup against the Sage200 database to determine if the customer uses consolidated billing or not.
- ConsolidationID
- When the invoices are generated we will respect the Use Consolidated Billing setting of the Customer.
- This field uses a conditional formula to either return the Customer or the Order number depending on the Consolidation value. It will then be used in a subsequent step to ‘pivot’ the data in a hierarchy transform.
In the screenshot below the Customer ABB001 has been set to Use Consolidated Billing.
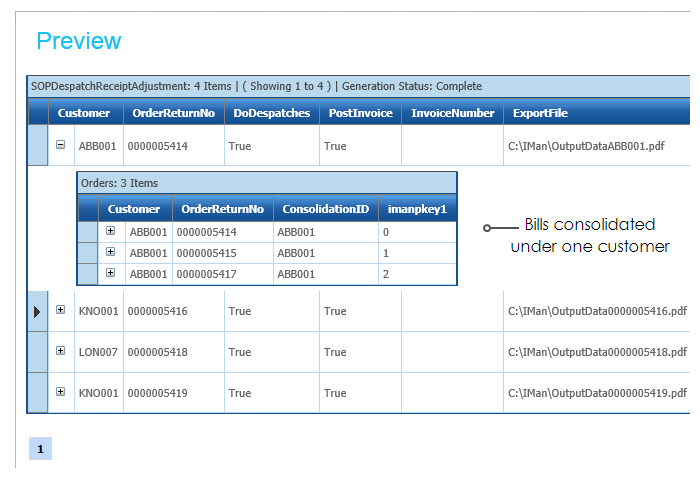
Hierarchy - Consolidate Invoice
To group the invoices by their consolidation setting we use a Hierarchy transform to pivot on the ConsolidationID field.
Within the Hierarchy Setup the ConsolidationID field is used to provide the pivot by setting it to be the single key field in the hierarchy definition.
- When refreshed the dataset will now group any orders by their ConsolidationID.
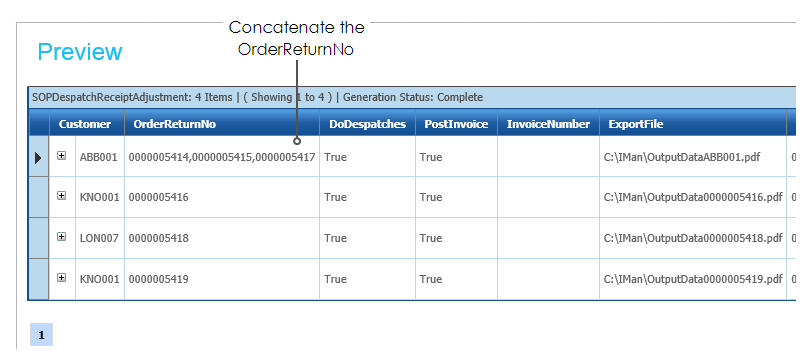
Consolidate Inv Map
In order to produce a consolidated invoice, we need to construct a comma-delimited field for each of the orders that you wish to generate a consolidated invoice for.
- To construct the comma-delimited string, we simply use the Concatenate function.

- When refreshed Customer ABB001 now lists the three orders:
Sage200 Invoice Print Post
In this step we map the fields into Sage to generate the Invoice.
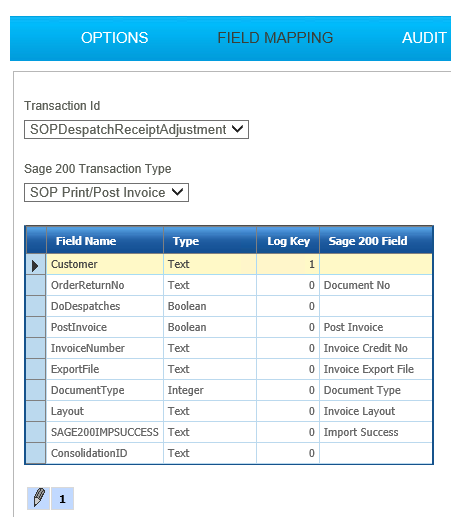
- Pressing Refresh will print & post the invoice. If successful, the InvoiceCreditNo field will be populated.
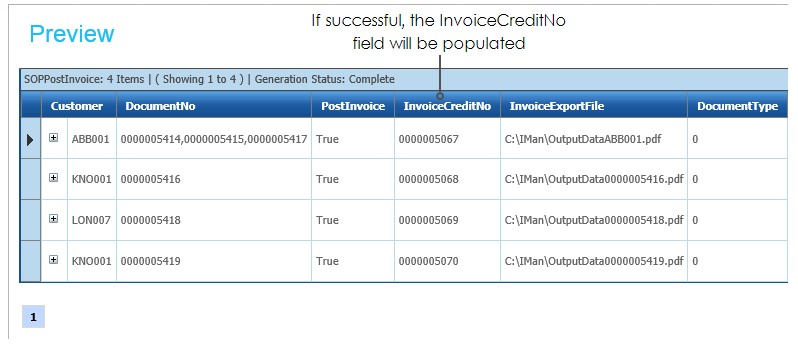
- The invoices will have been exported to file.